
What if auto color grading in DaVinci Resolve could grade half your timeline for you, before you’ve even touched a color wheel?
Most editors use maybe one of the auto grading tools buried in Resolve’s Color Page. In this guide, I’m covering every auto color grading feature Resolve has to offer: the ones that’ll save you hours of manual correction, and one that most editors have never even opened, despite it being a staple on professional color-grading sets.
This article expands on the video with more detail on how each tool works, when to use it, and where it tends to fall apart, so you can use these features on your own timeline with more control.
Why Auto Color Grading Tools Exist
Before diving in, it’s worth understanding what these tools are actually for. None of Resolve’s auto grading features are meant to produce a finished, stylized look. They exist to get your footage to a neutral, balanced starting point fast, correcting exposure, white balance, and contrast issues, so you can spend your actual grading time on creative decisions instead of technical cleanup.
Think of auto color grading as the “rough draft” stage of a color grade, not the final pass.
1. Auto Color
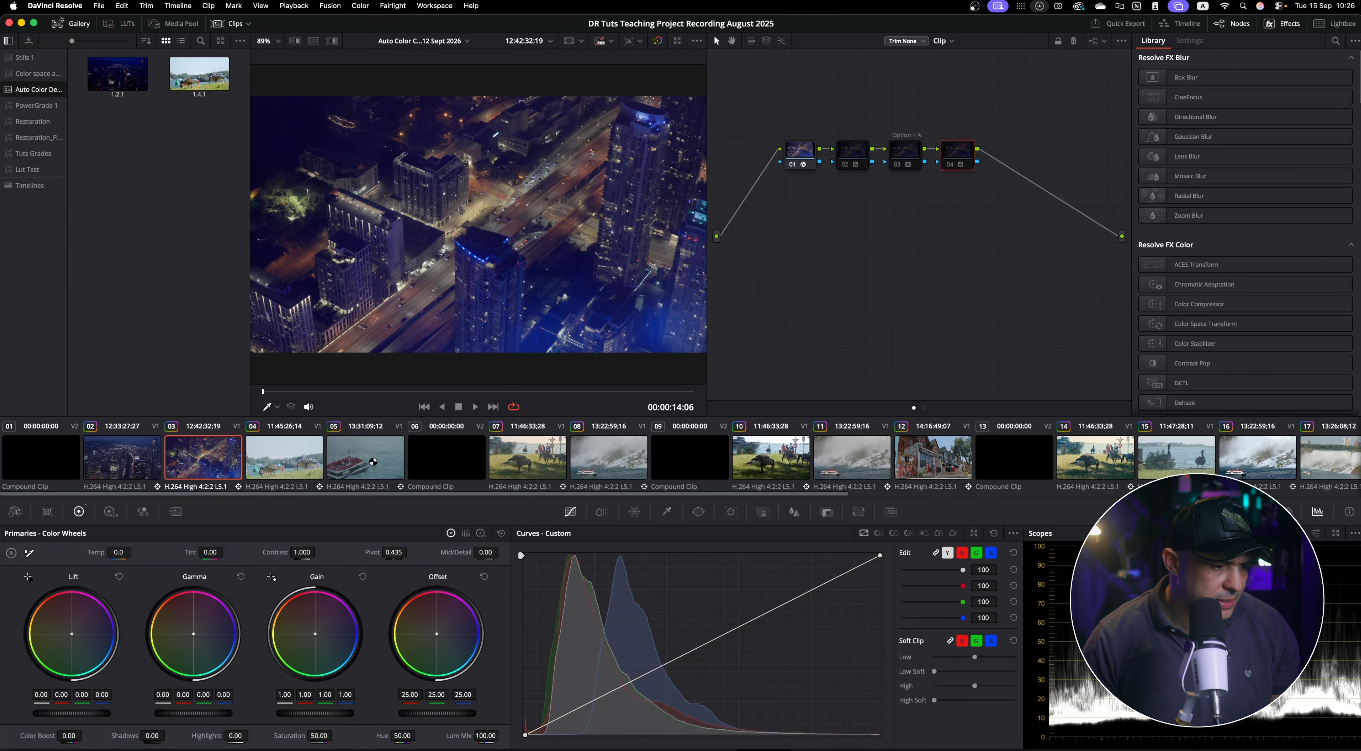
Shortcut: Opt/Alt + A
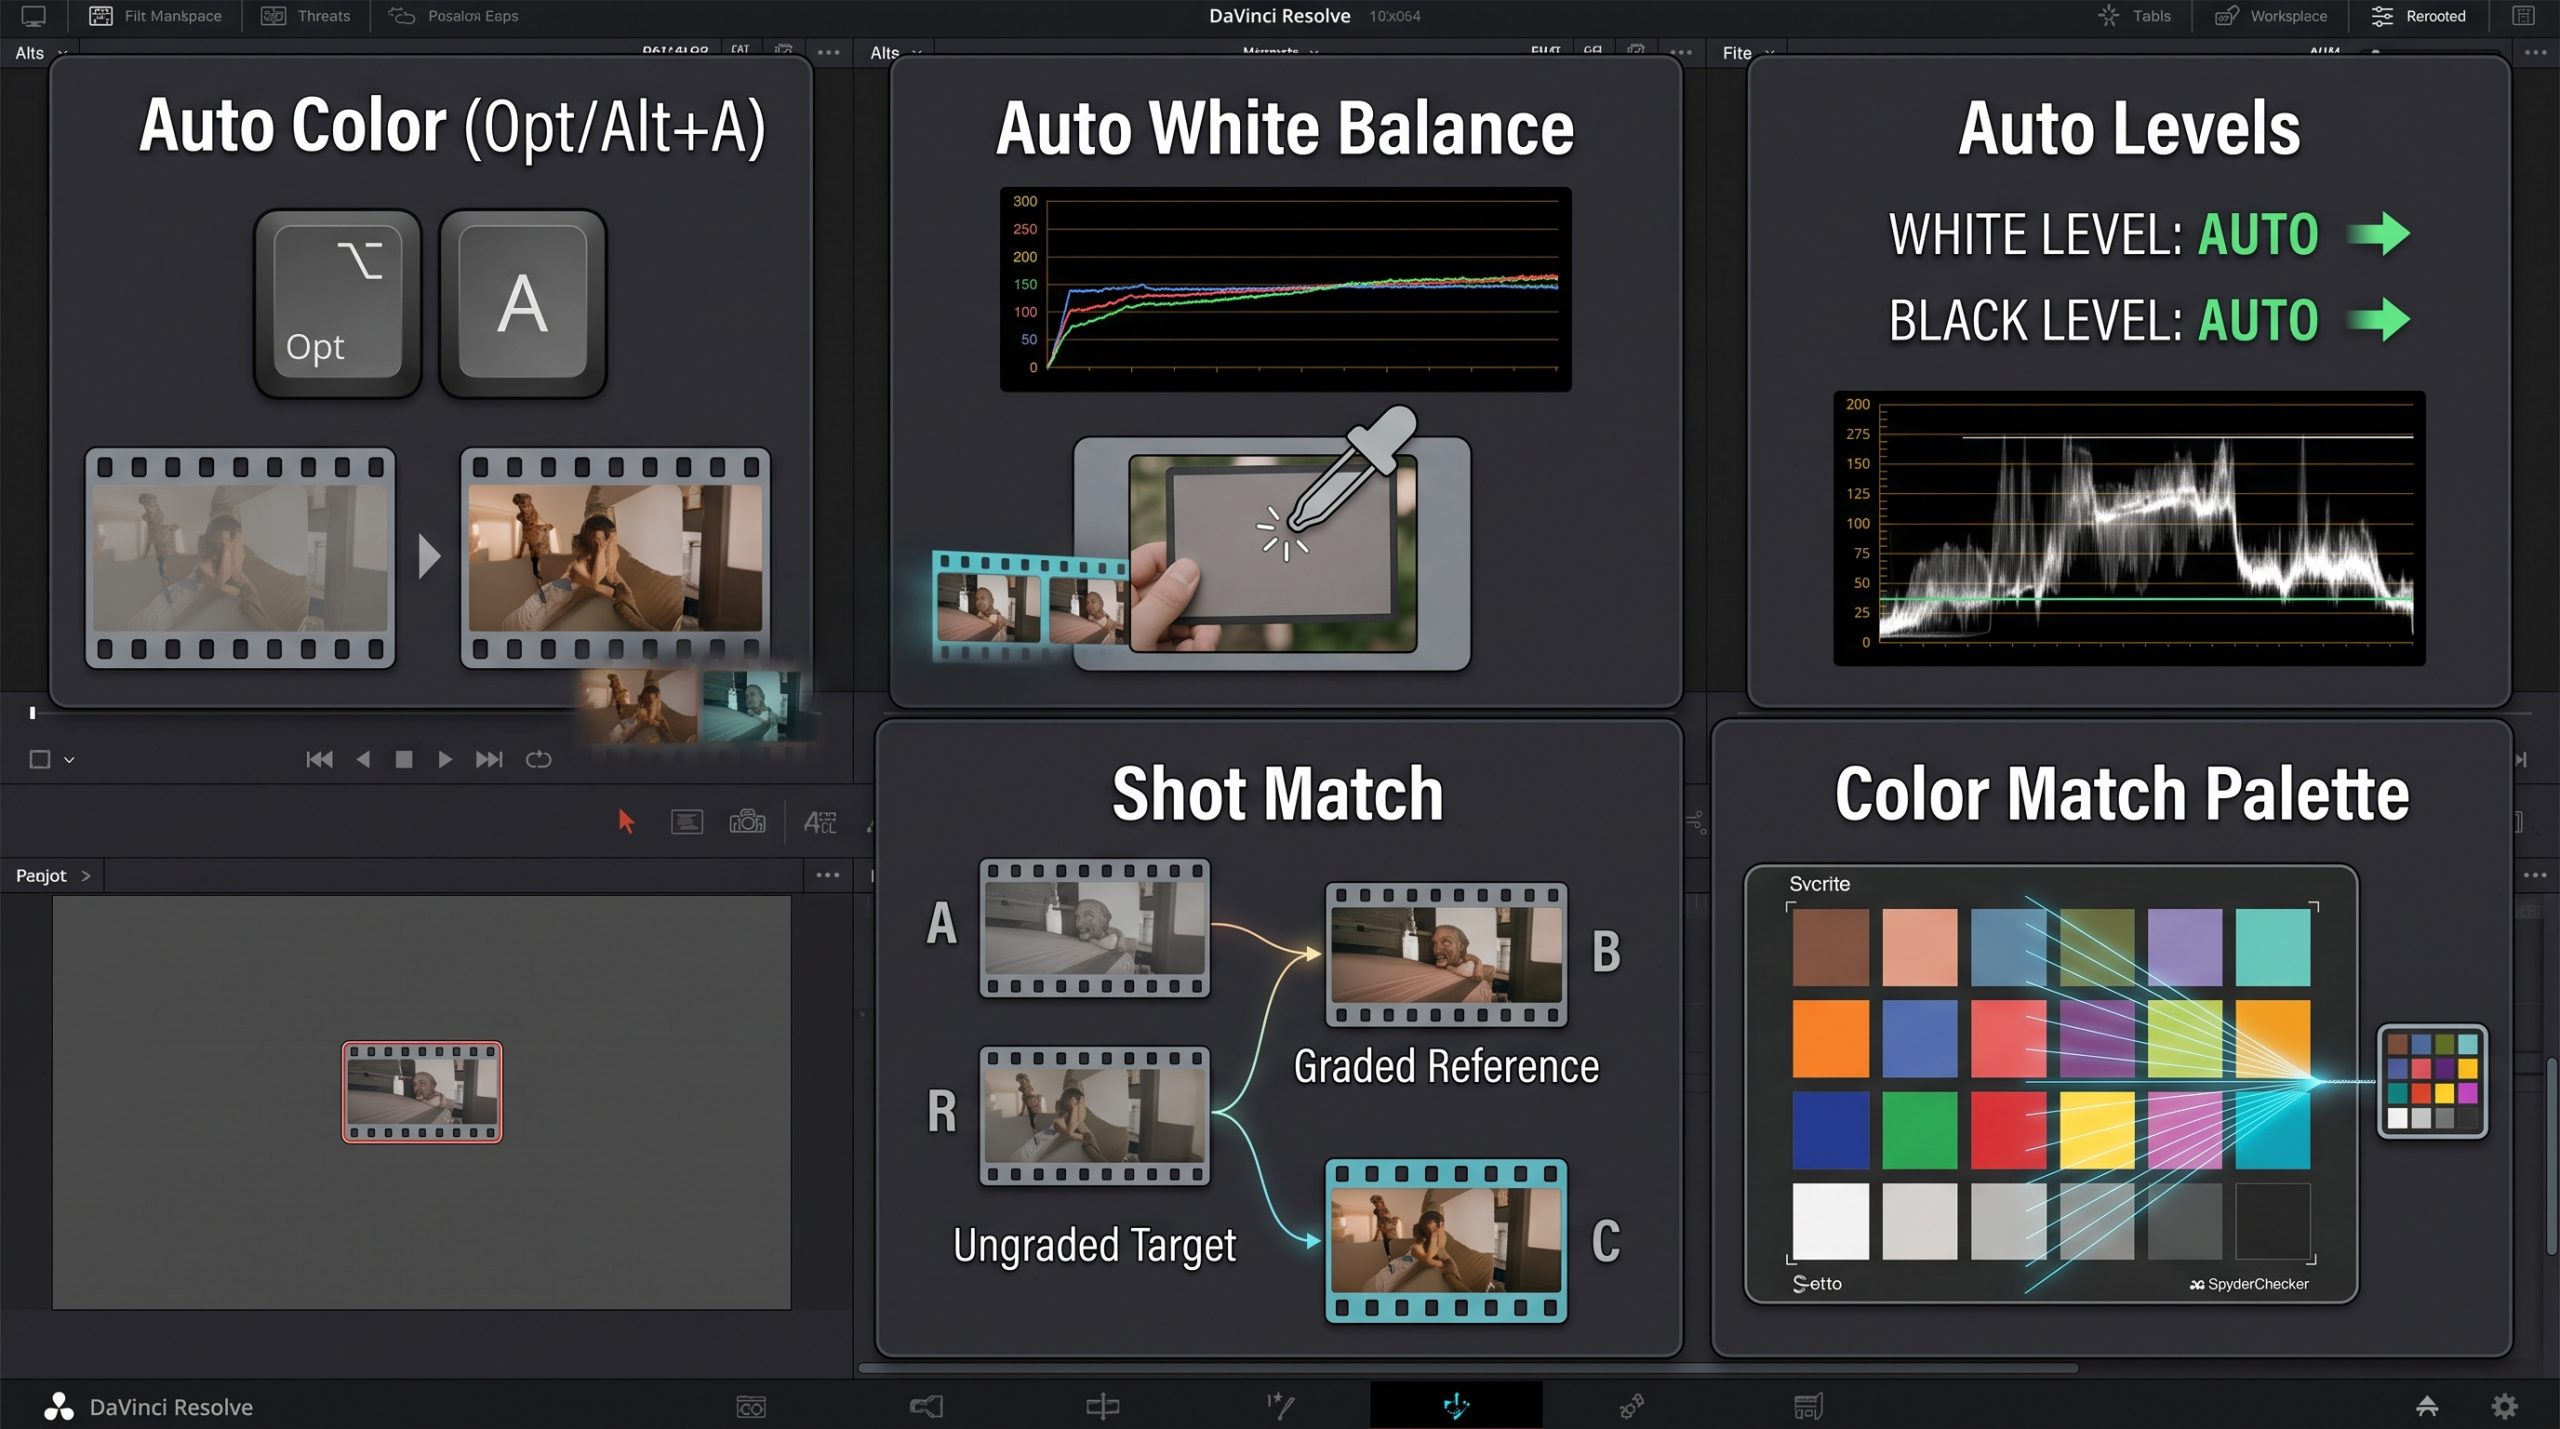
Auto Color is the tool most people associate with automatic grading in Resolve, and it’s the fastest option on this list. With a single clip selected on the Color Page, pressing Opt/Alt + A tells Resolve to analyze the frame under the playhead and automatically adjust the lift, gamma, and gain to produce a neutral, balanced image.
How it works: Resolve looks at the tonal range of the image and tries to redistribute it so blacks are black, whites are white, and there’s no obvious color cast across the frame.
Best for: Quickly normalizing a batch of clips that are underexposed, overexposed, or have a mild color cast from mixed lighting.
Where it struggles: Auto Color has no idea what your shot is supposed to look like. Feed it a moody, intentionally warm-toned interview shot, and it may try to neutralize the exact color temperature you wanted. Always treat the result as a base layer, not a finished grade.
2. Auto White Balance
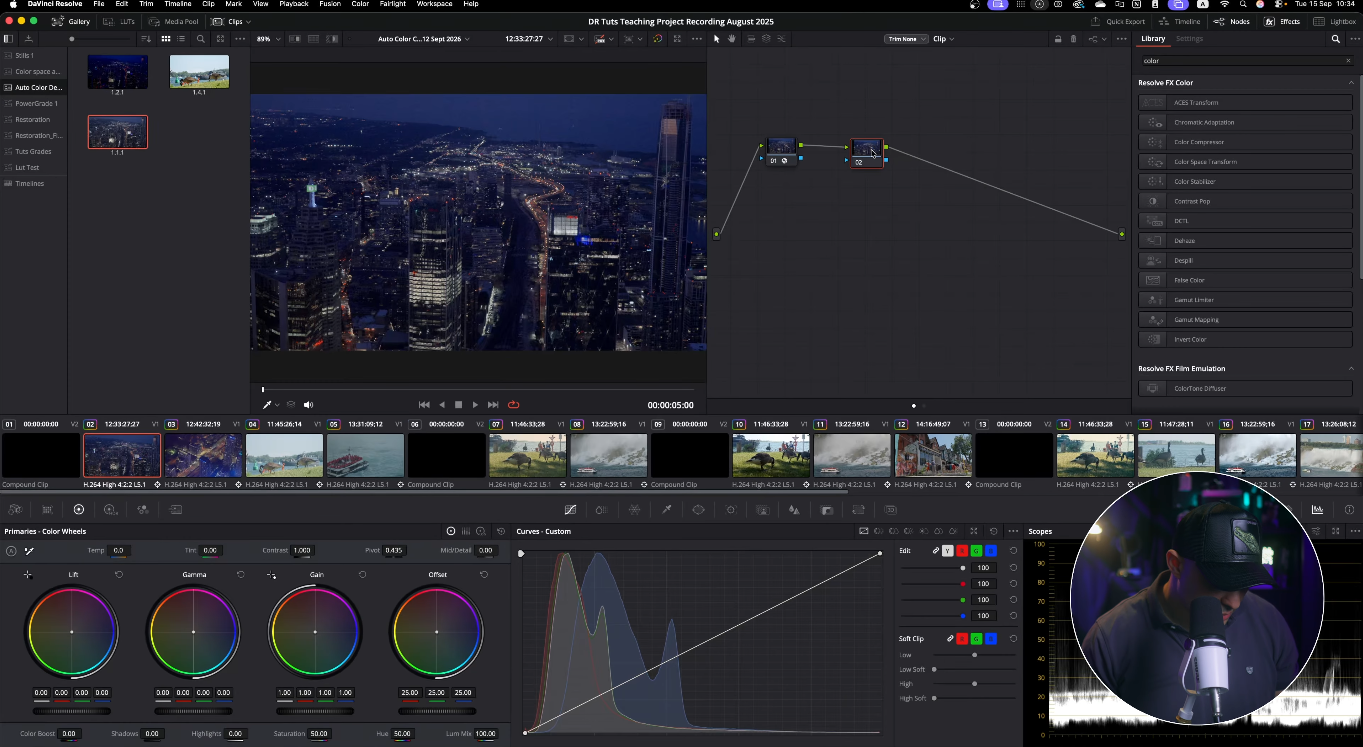
Auto White Balance uses the eyedropper tool inside the Primaries wheels panel. You select the white balance eyedropper and click on something in your frame that should be neutral gray or white, such as a gray card or a white surface.
How it works: Resolve reads the RGB values of the pixel you clicked and calculates the correction needed to make that point neutral, then applies that shift across the whole image.
Best for: Fixing footage shot under mixed or unknown lighting where you don’t have a reference chart, but you do have something in-frame that should read as neutral.
Where it struggles: Accuracy depends entirely on what you click. Click a surface that only looks white but actually has a slight tint, and you can introduce that tint into your correction.
3. Shot Match (“Shot Match to This Clip”)
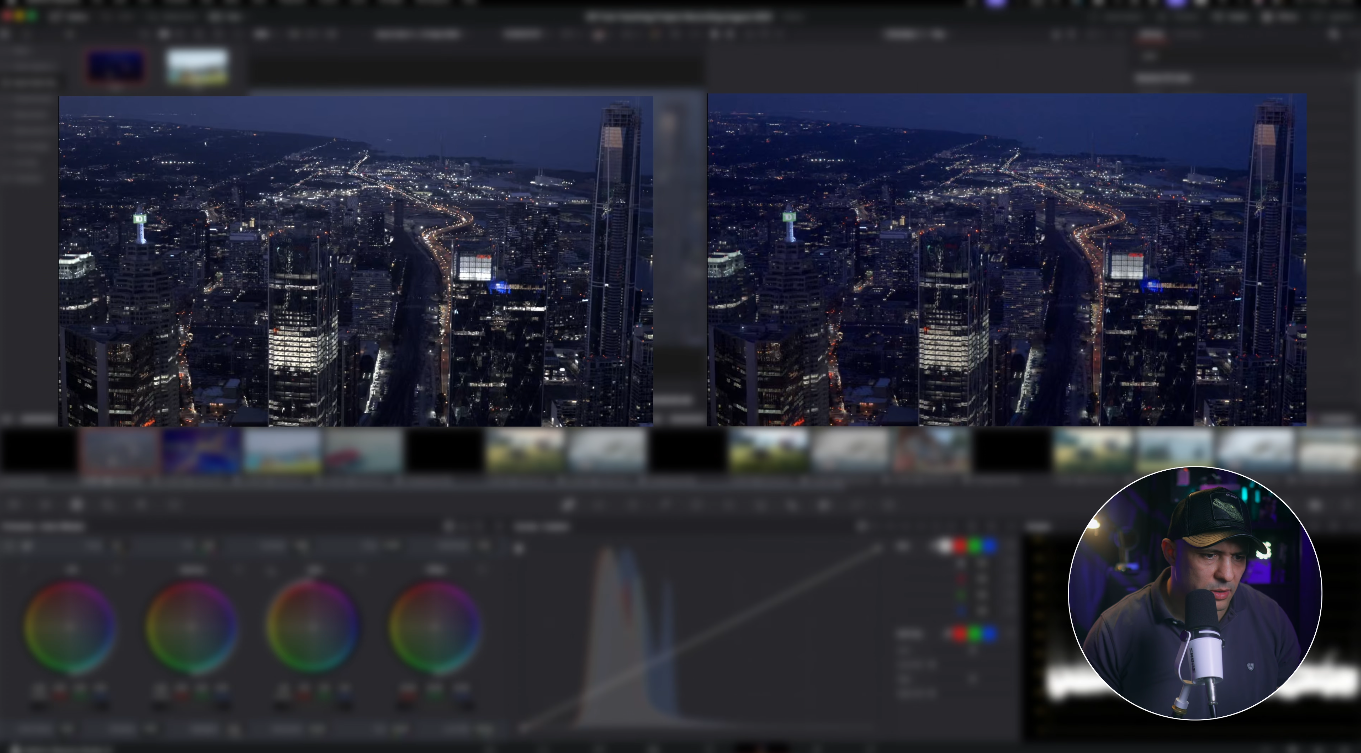
Shot Match is where Resolve’s auto grading tools start to feel genuinely powerful for editors working across multiple cameras or inconsistent lighting setups.
How it works: Select the ungraded clips you want to fix, then right-click your already-graded reference clip and choose “Shot Match to This Clip.” Resolve analyzes the color, contrast, and brightness of the reference and automatically applies a matching correction to the selected clip or clips.
Best for: Multi-camera interviews, run-and-gun documentary footage, or any project where you shot on more than one camera body and need everything to sit in the same visual world before you start creative grading.
Where it struggles: Shot Match works best when the clips being matched are reasonably close in exposure and lighting to begin with. Wildly mismatched footage can produce unpredictable results, so treat it as a matching tool rather than a miracle worker.
4. Color Match Palette
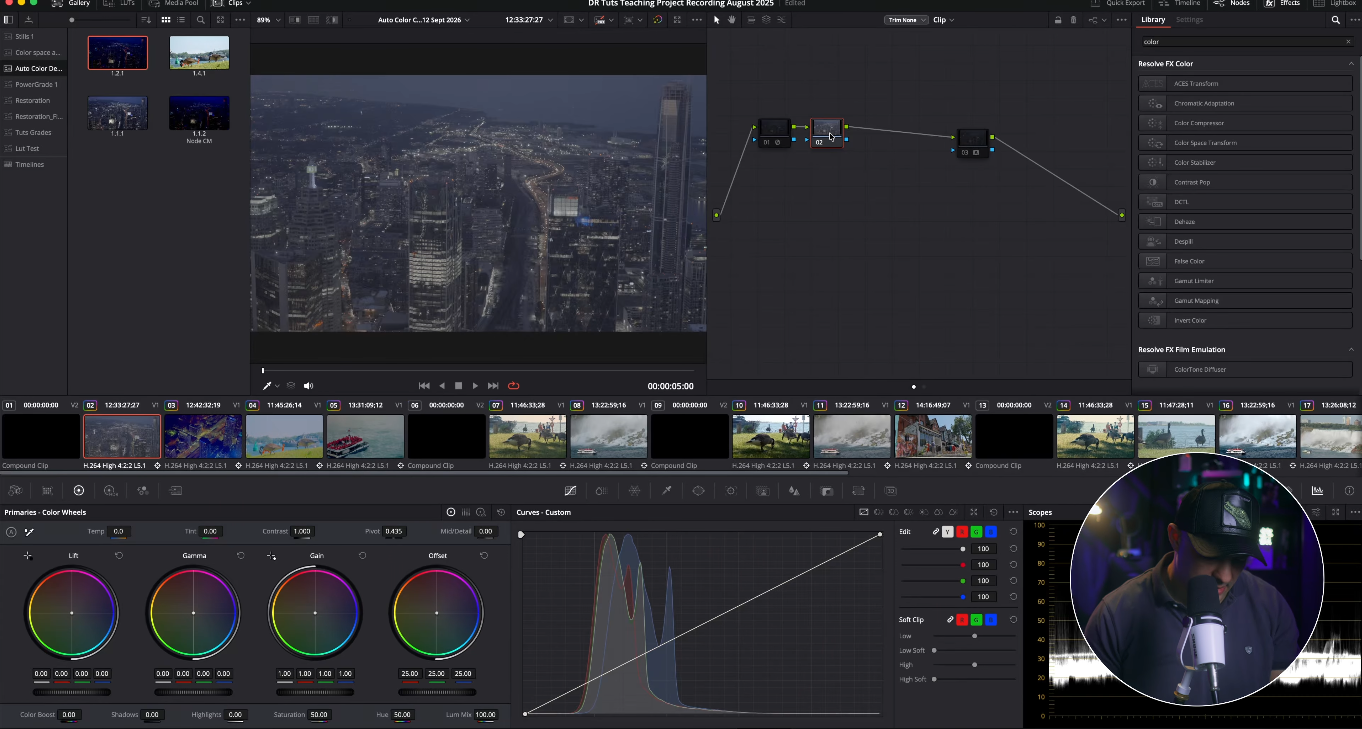
This is the tool most editors never open, but it can be extremely useful when a color calibration chart was captured on set under the same lighting as your footage.
How it works: If a color calibration chart such as an X-Rite ColorChecker or SpyderCheckr was shot on set, the Color Match palette can analyze the chart and calculate a correction designed to neutralize the lighting conditions for that setup.
Best for: Narrative, commercial, or other productions where a DP or colorist captured a calibration chart on set specifically for color matching.
Where it struggles: It’s only as useful as your on-set reference. If no chart was captured for the scene, you cannot retroactively create that reference data.
5. Auto White Level / Auto Black Level
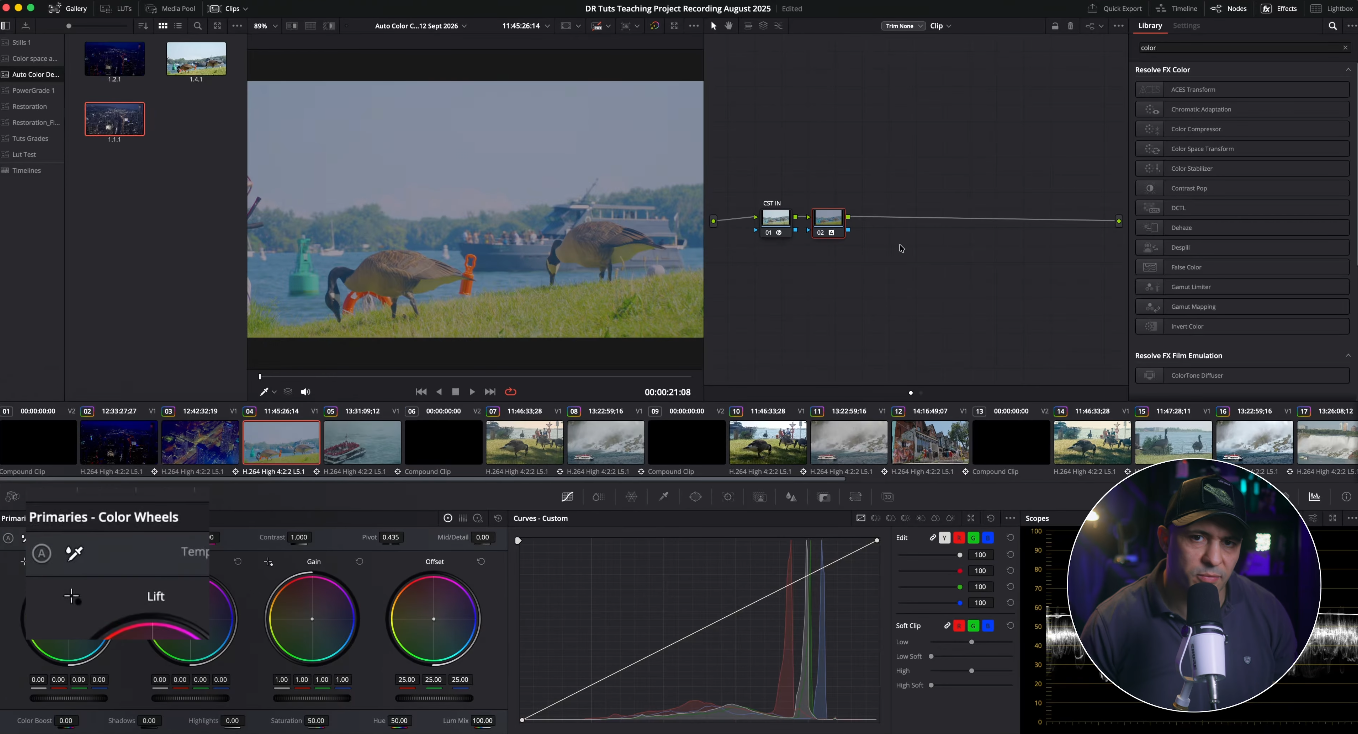
These are targeting options associated with Resolve’s Auto Color behavior. They allow the automatic correction process to focus more specifically on the white point, black point, or both.
How it works: Instead of making a broad adjustment across the entire tonal range, the correction can focus on establishing appropriate black and white levels while leaving the midtones comparatively untouched.
Best for: Footage where the contrast range is off but the midtone color balance is already reasonably good, or flat footage that needs its black and white points established before further grading.
The Bottom Line
None of these tools replace a proper grade. Every one of them is a starting point, not a finish line. They help you get your footage to a clean, neutral baseline so the creative grading you do afterward is working from consistent, corrected material instead of fighting exposure and color problems clip by clip.
The real advantage of auto color grading DaVinci Resolve workflows is speed. When you understand what each tool is analyzing and what kind of correction it is trying to make, you can use automation to handle repetitive technical work while keeping the creative decisions in your hands.
Want to build on this with deeper color management knowledge? Check out my REC.709 vs LOG vs RAW breakdown, or explore my DaVinci Resolve training programs for hands-on guidance.