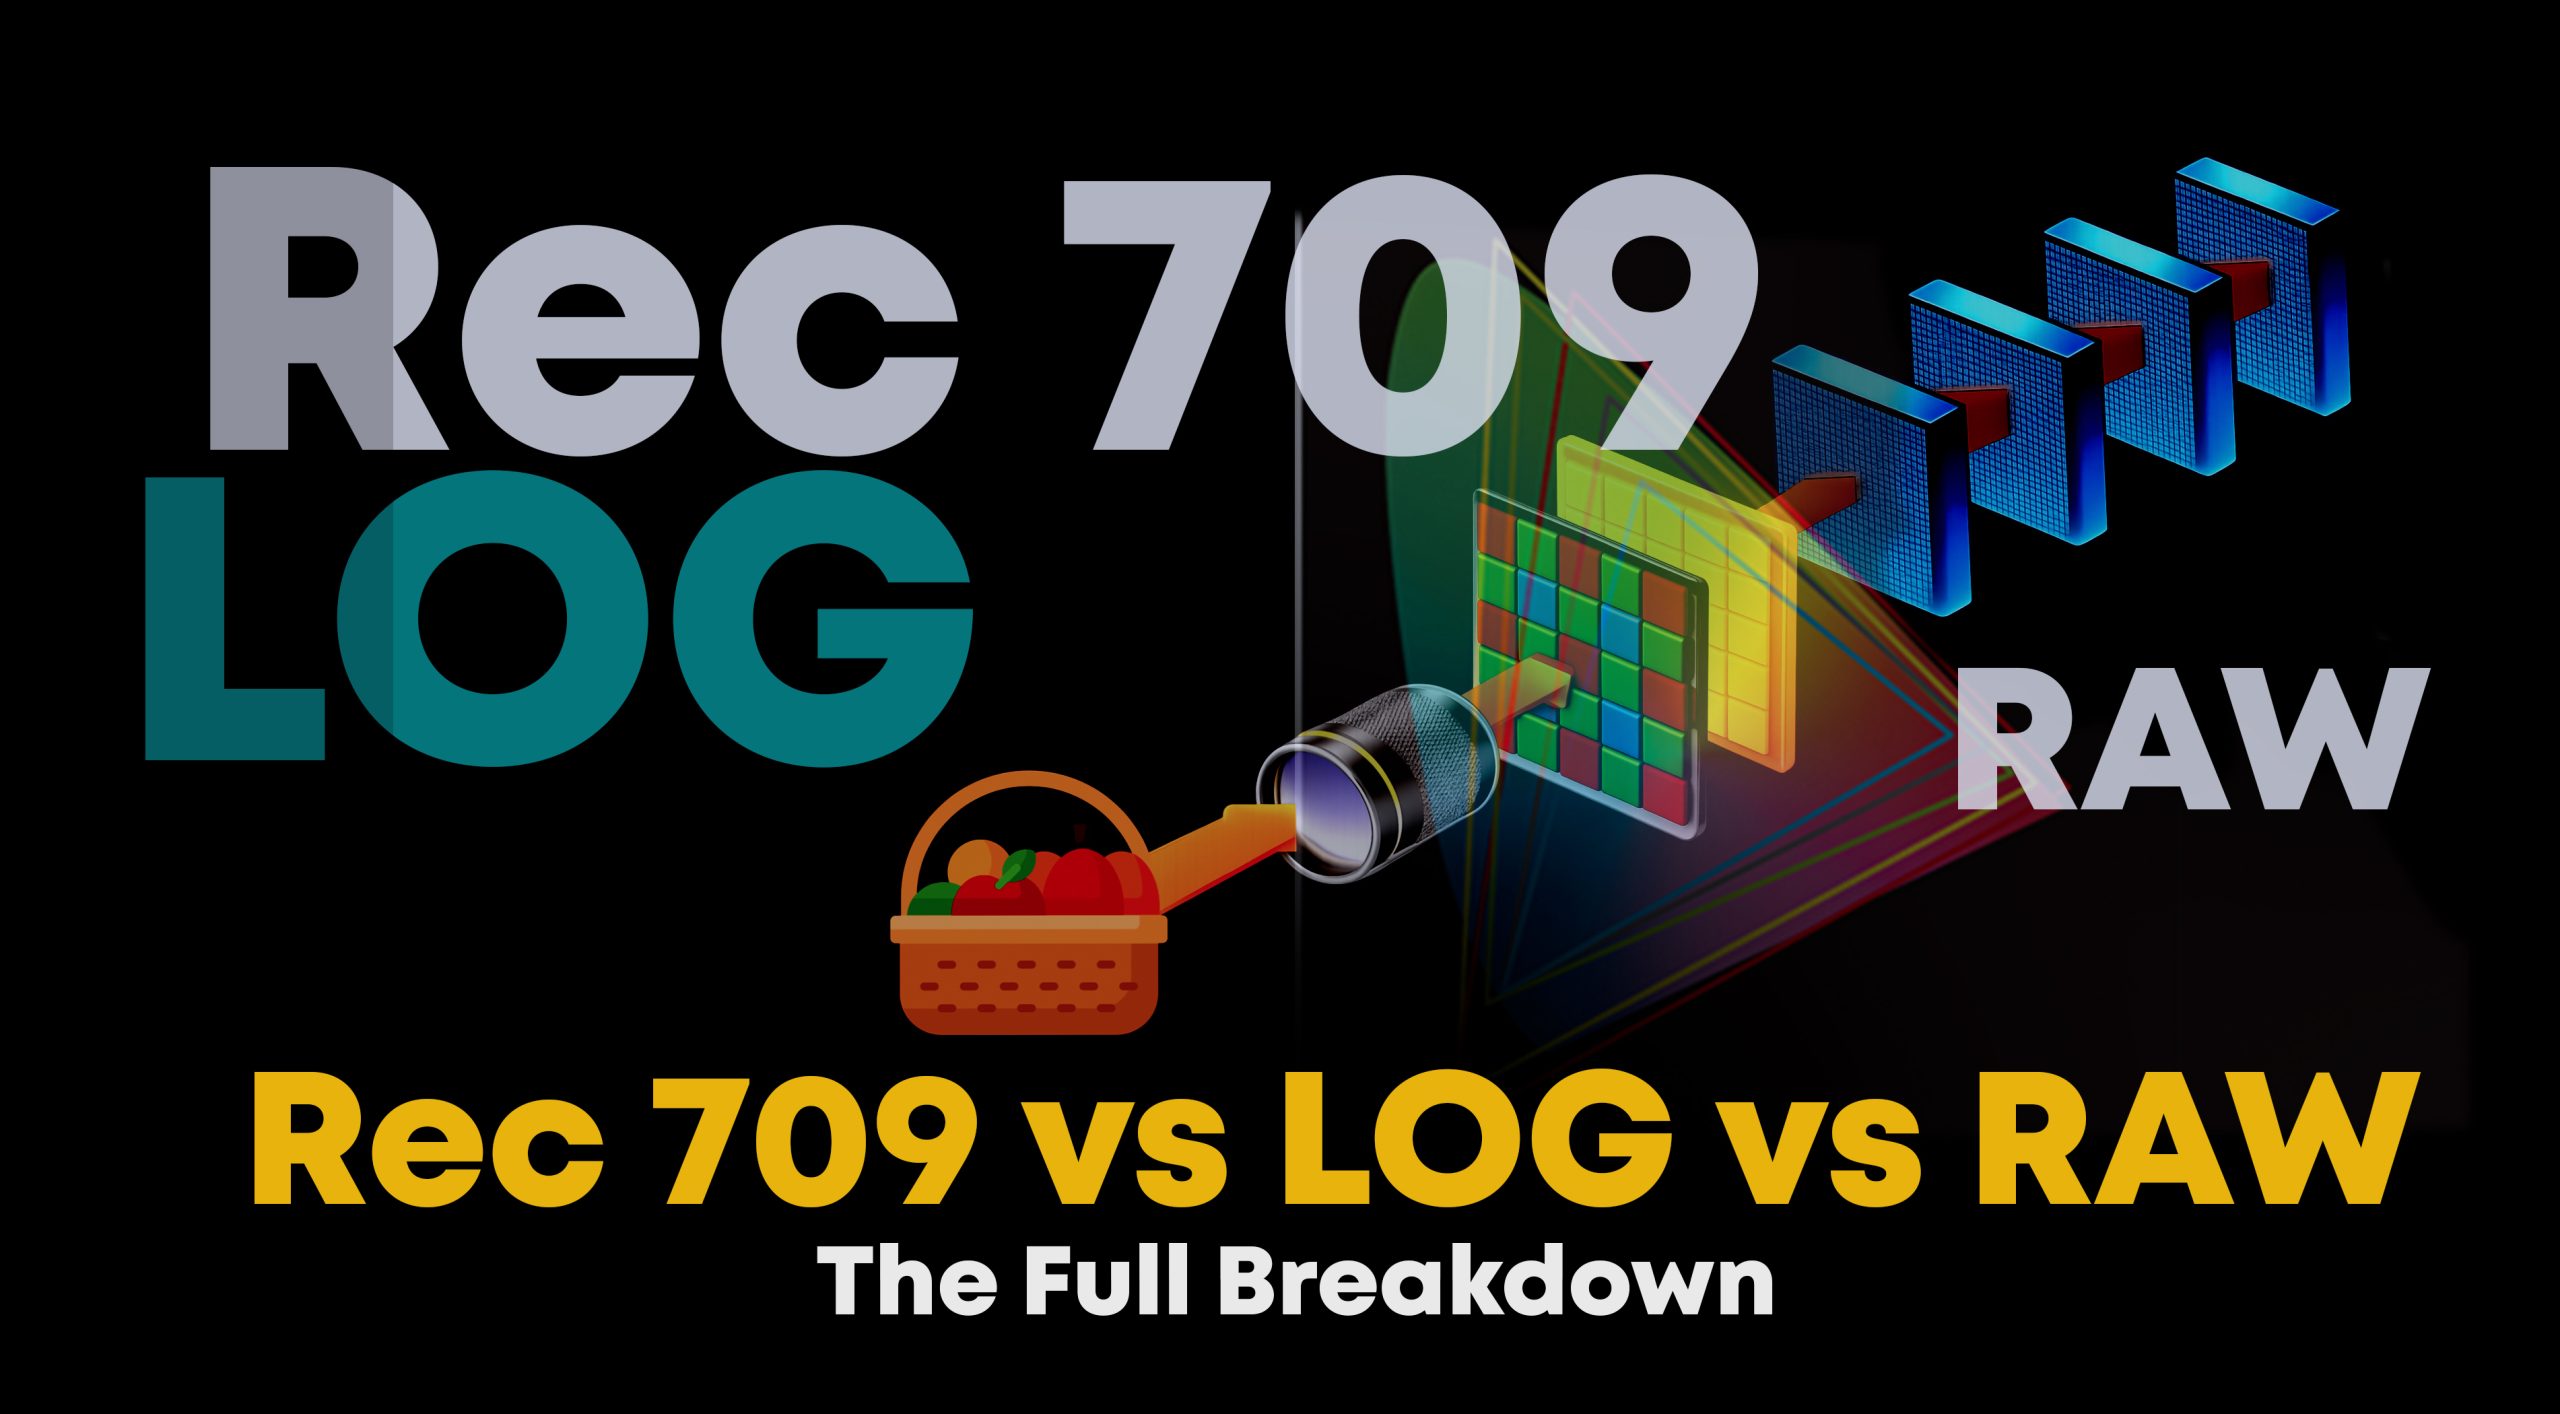

Most modern cameras today can shoot in REC.709, LOG, and even RAW. But what do these terms actually mean for your final image? If you point the same camera at the same scene, your footage will look drastically different depending on the format you select in the menu. One format looks contrasty and ready for TV, another looks washed out and milky, and the third is raw sensor data waiting to be debayered.
Understanding how each format captures light, where it fits into your pipeline, and how to grade it is foundational knowledge for every filmmaker, director of photography, and colorist.
1. REC.709: The Broadcast Standard
What is it?
Standardized by the International Telecommunication Union (ITU) in the early days of high-definition television, REC.709 (or BT.709) defines the standard for HD television production and delivery. If you’ve ever seen a “Standard” or “Normal” picture profile on your camera, you are shooting in REC.709. It defines the white point (D65), the specific color primaries, and the standard display gamma curve (typically 2.4 for broadcast environments).
Why is it the standard?
- Universal Compatibility: Every SDR television, phone, tablet, and computer monitor globally is engineered to interpret REC.709 accurately.
- WYSIWYG on Set: What you see on your camera monitor is exactly what the file looks like out of the camera.
- Instant Turnaround: Because contrast, saturation, and white balance are baked in permanently, footage can go straight to an edit timeline and onto air without color grading.
Even when footage is captured entirely in LOG or RAW, the final deliverable almost always needs to be transformed into REC.709 for Standard Dynamic Range (SDR) distribution. It acts as the common viewing container that translates high-dynamic-range camera data into values consumer displays can actually reproduce.
Going Deeper – Beyond REC.709: The newer standard, REC.2020, covers a much wider color gamut and supports High Dynamic Range (HDR), giving you more detail in shadows and highlights alongside a higher peak brightness. However, due to device limitations and workflow complexity, SDR REC.709 remains the primary baseline delivery format.
2. LOG: The Dynamic Range Workhorse
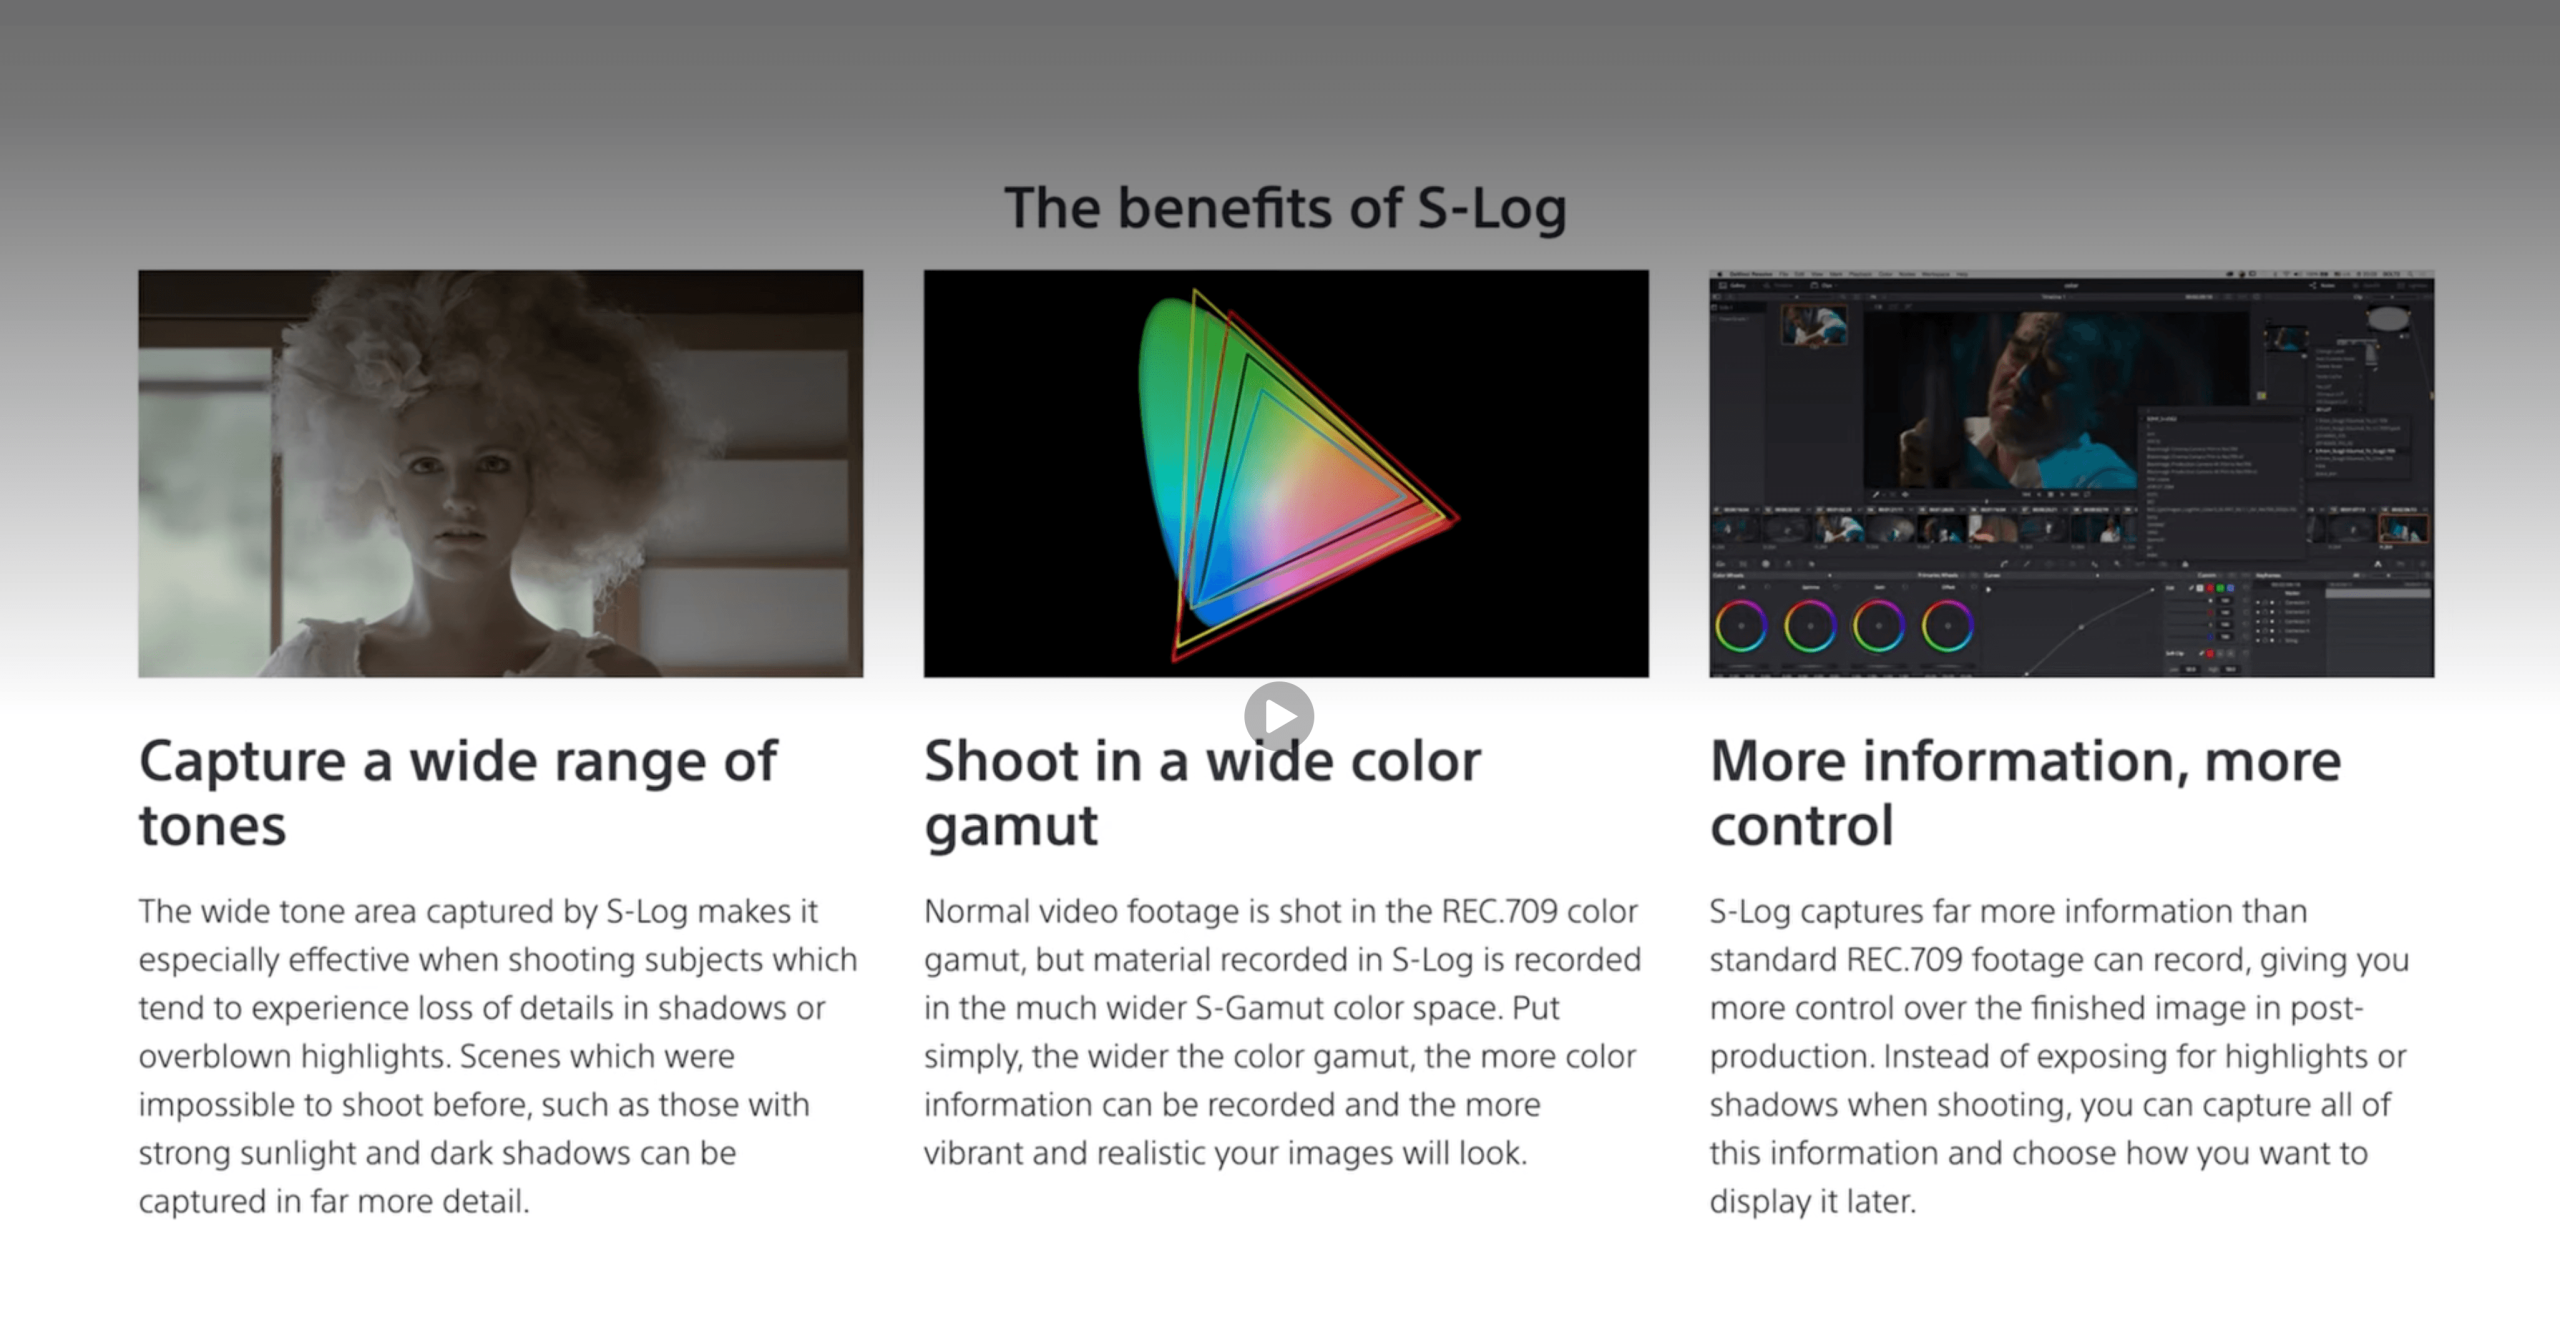
What is it?
LOG (Logarithmic) is an encoding curve designed to maximize a digital sensor’s dynamic range within standard compressed video codecs.
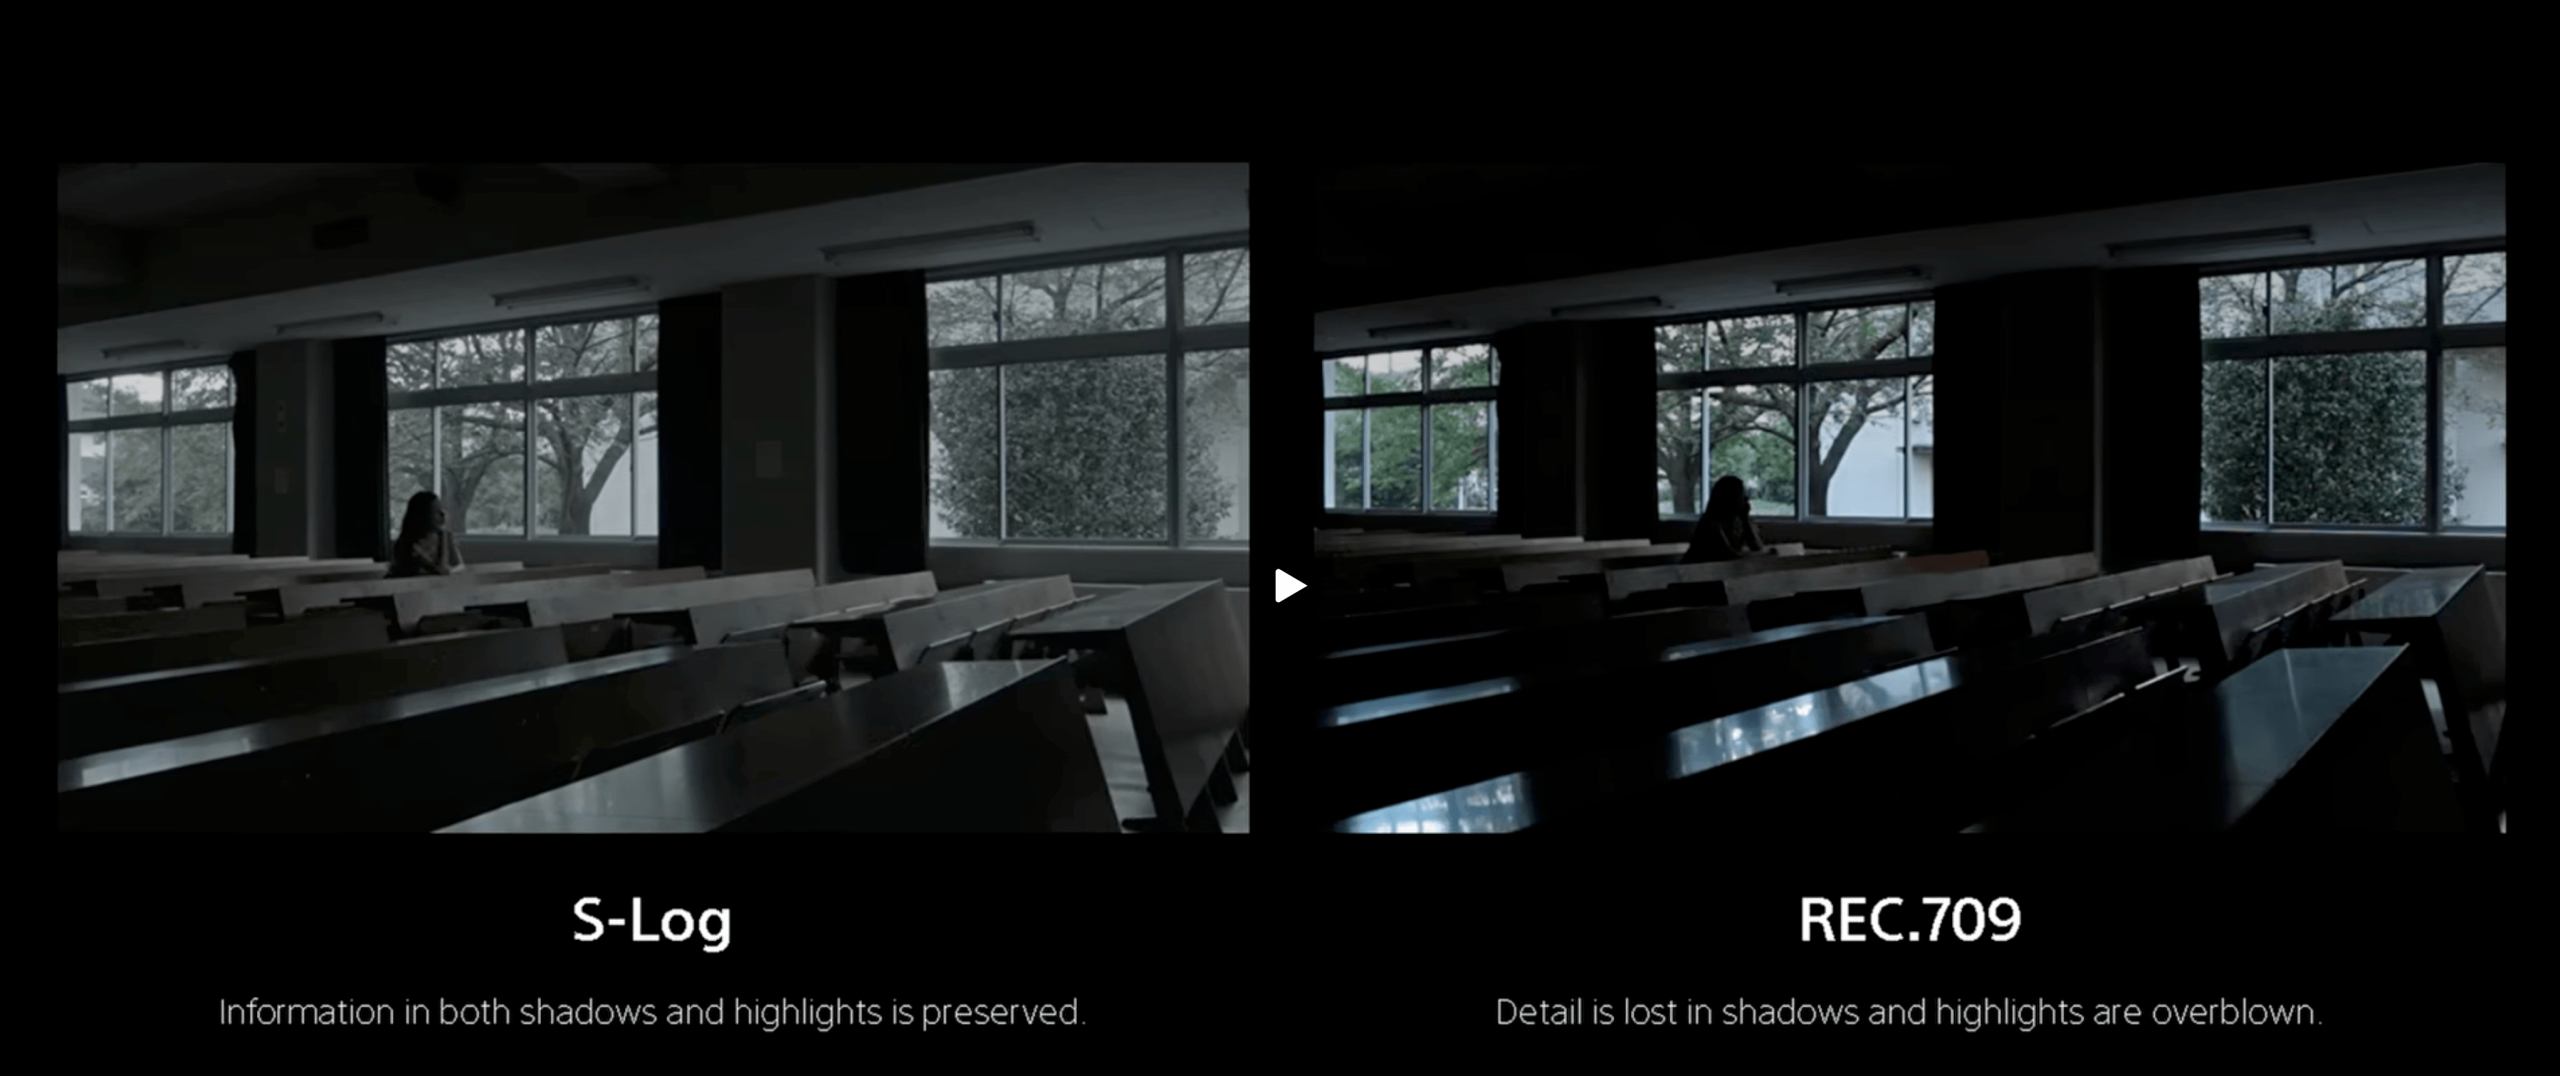
In a standard linear or REC.709 curve, bright areas quickly blow out to pure white (clipping), and shadows drop into crushed black. A LOG gamma curve distributes tonal values logarithmically, compressing highlight exposure values and lifting shadows. This produces a distinctive flat, desaturated, low-contrast image out of the camera that holds a massive amount of information.
Why use LOG?
- Preserves Details: Protects critical highlight details (skies, windows, practical lights) and maintains shadow detail that would otherwise clip harshly in standard profiles.
- Flexibility in Post: Offers a clean, flexible base for building creative looks, pulling exposure up or down, and recovering details without immediate artifacting.
- Storage Efficiency: LOG packs 12 to 14+ stops of dynamic range into compressed 10-bit codecs (e.g., Apple ProRes 422 HQ, H.265 All-Intra) without incurring the immense storage overhead of uncompressed RAW.
Camera-Specific Curves
LOG profiles constantly evolve with new camera generations to match sensor capabilities:
- Sony S-Log: Early versions had color cast issues, but S-Log3 fixed skin tones and provided a flatter, easier curve for grading (widely used on the FX3, FX6, and Venice).
- ARRI LogC: Moving from LogC3 to LogC4 drastically increased the overall dynamic range, rendering softer highlights and finer shadow details. See ARRI’s official LogC4 documentation for the full technical breakdown.
Crucial Rule: Exposing LOG requires precision. Middle grey sits at a specific IRE value depending on the camera (e.g., around 41 IRE for S-Log3). In DaVinci Resolve, you must use a Color Space Transform (CST) or a dedicated conversion LUT to bring your LOG footage into a workable display space before grading.
3. RAW: The Ultimate Image Data
What is it?
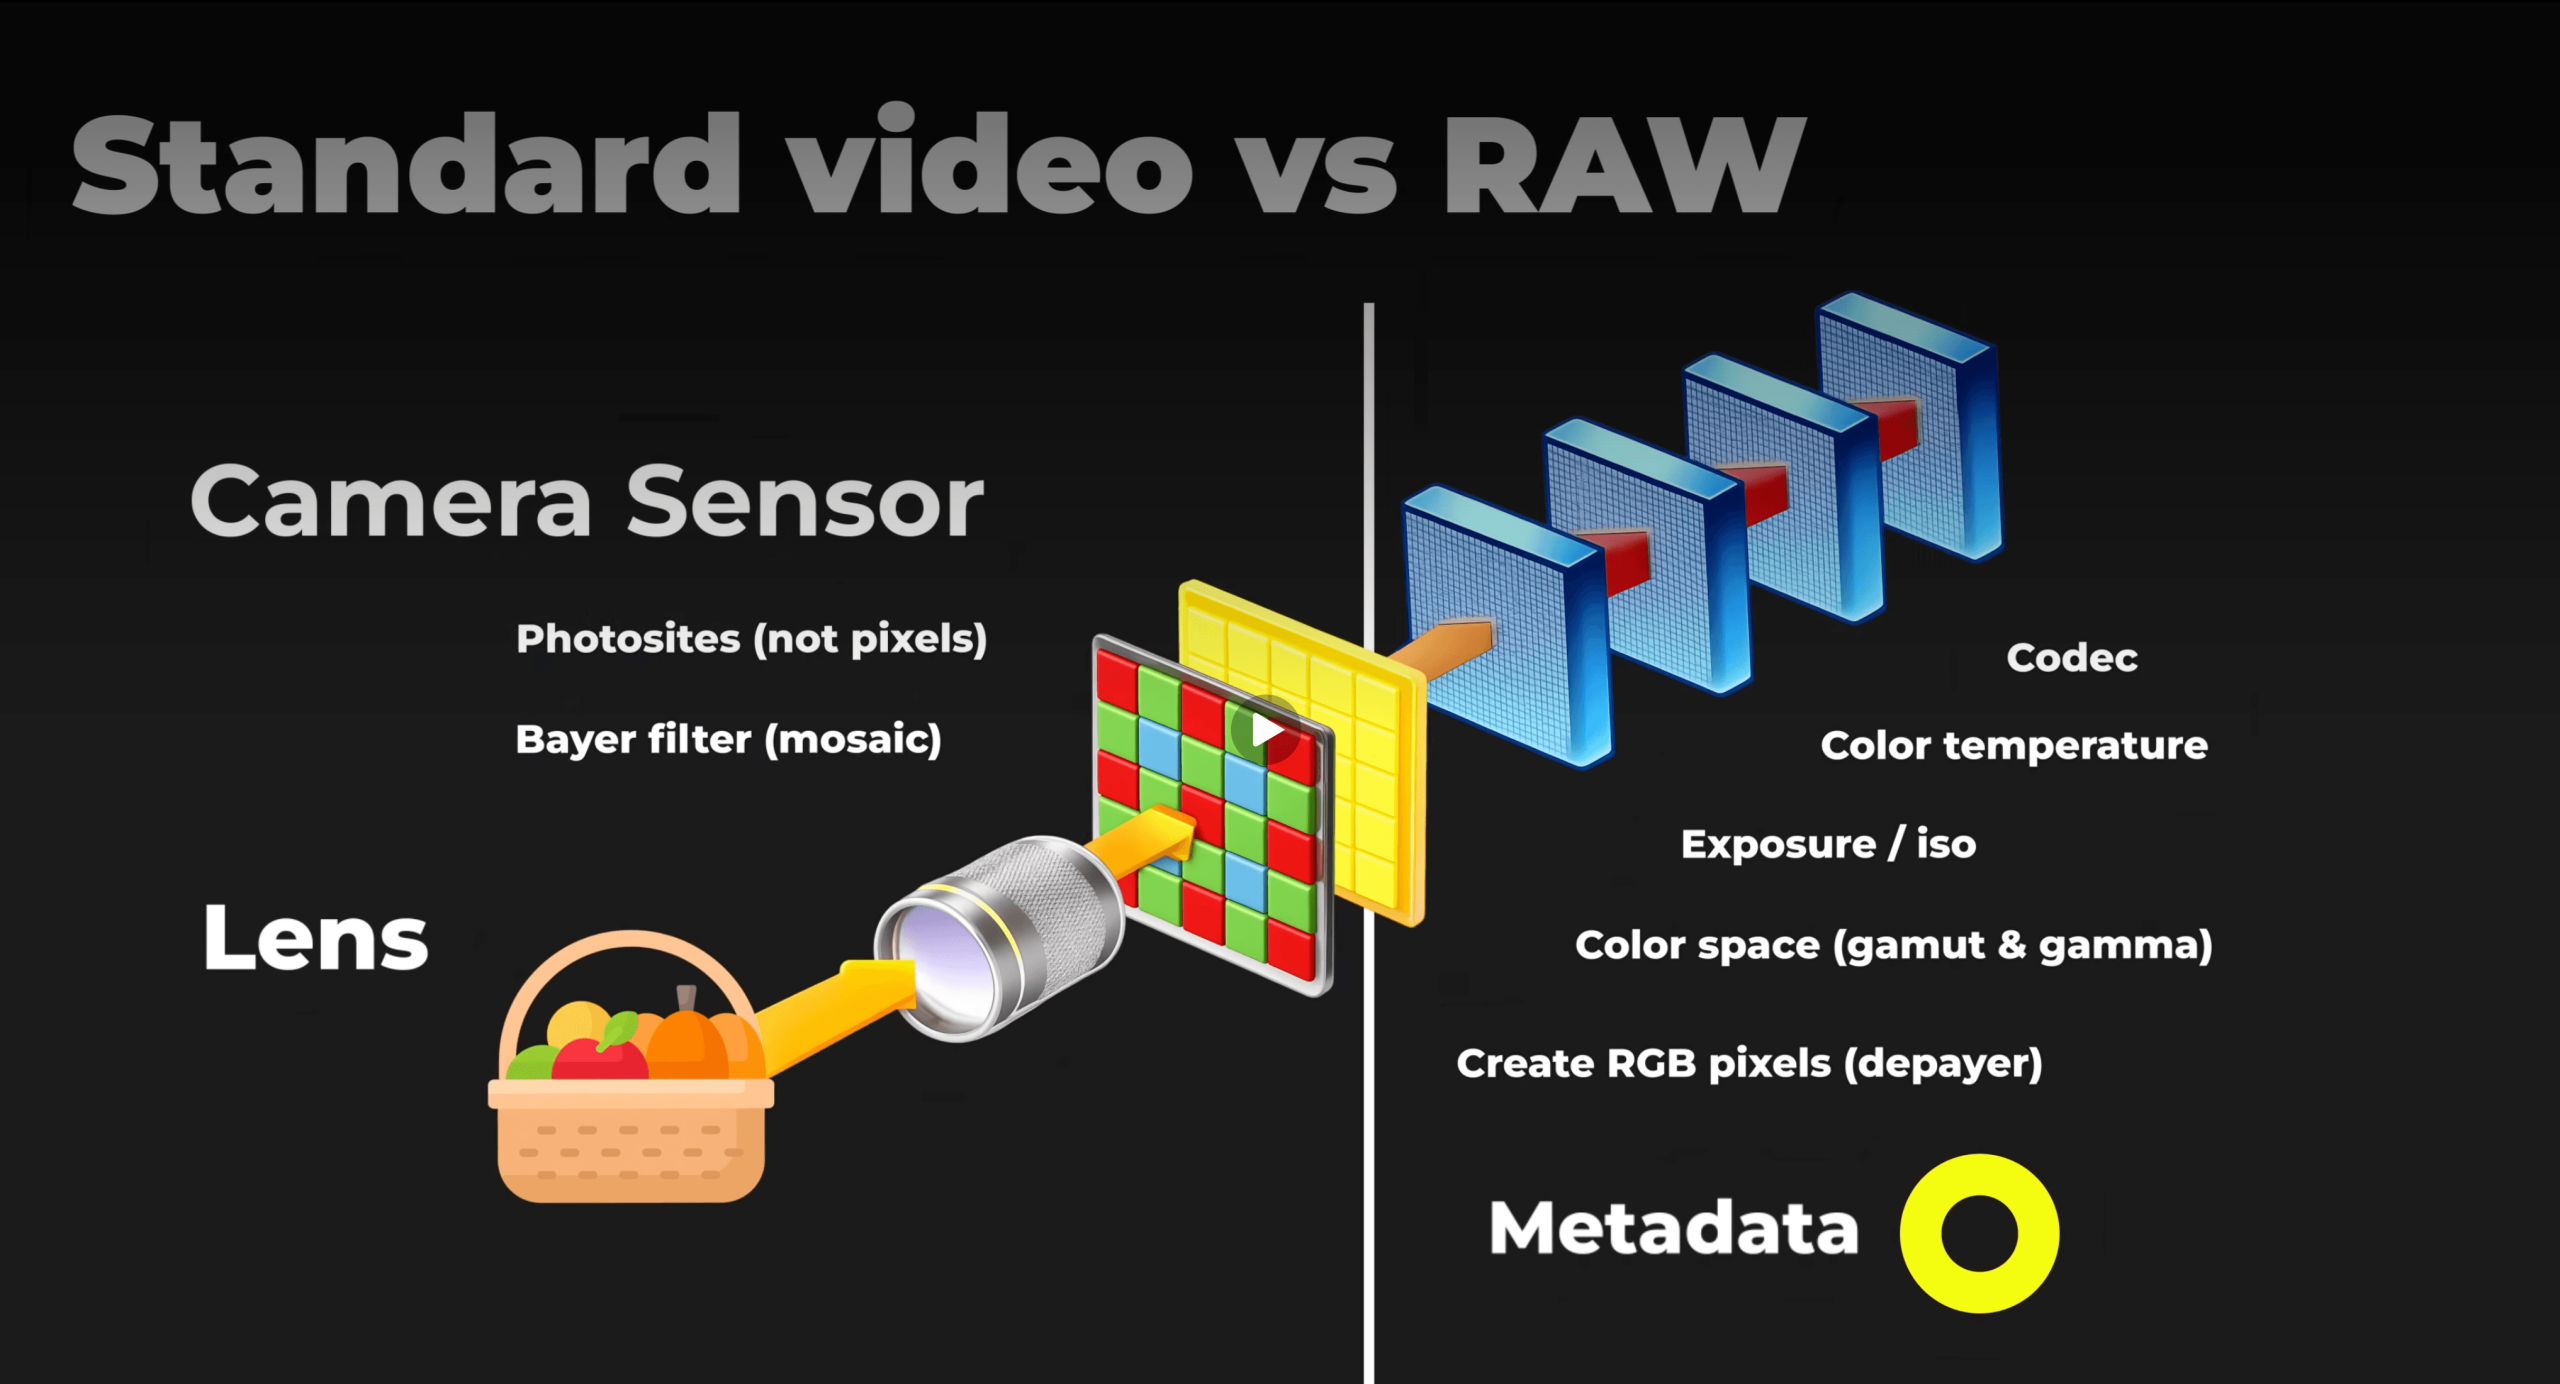
RAW is not a finished video file; it is a stream of raw, unprocessed data straight from the camera’s sensor. It skips in-camera debayering, compression, gamma curve baking, sharpening, noise reduction, and color space mapping. It is the absolute closest you can get to the original sensor readout.
Why use RAW?
- Uncompromised Control: RAW allows you to change fundamental settings after the shoot. You can adjust the ISO, white balance, tint, exposure, gamma, and color space completely non-destructively in post.
- Highest Quality Ceiling: Provides 12-bit or even 16-bit color depth, delivering the deepest image data possible for heavy VFX workflows and theatrical feature films.
- Debayering Control: Lets you debayer the image directly in your grading software using customized transform settings.
Modern Variable Compression
Shooting RAW used to mean massive, unmanageable image sequences. However, modern variable compression formats changed the game. Codecs like Blackmagic RAW (BRAW) and REDCODE RAW (R3D) allow you to choose compression ratios (from 3:1 up to 16:1 or higher). Even at higher compression rates, it remains true RAW data, giving you full post-production control with visually lossless quality and a manageable storage footprint.
Practical Decision Guide: Which Should You Shoot?
- Shoot REC.709 if you need the fastest, simplest workflow. It’s perfect for fast-paced live events, quick-turnaround news, corporate interviews, or social media where no heavy grading is required.
- Shoot LOG if you need more dynamic range, better highlight control, and a flexible base for color grading without overwhelming your hard drives. It gives you 90% of the grading flexibility of RAW at a fraction of the computing overhead. Ideal for narrative films, commercial client work, and documentaries.
- Shoot RAW if you want maximum quality, the best highlight recovery, and absolute control over white balance and exposure in post-production. Reserved for high-budget commercials, green-screen/VFX plates, and extreme dynamic range scenes.
Essential Post-Production Toolkit
When working with wide-gamut LOG and RAW media, standardizing your color pipeline and utilizing the right tools will elevate your final image:
- Color Management: Learn to utilize DaVinci Wide Gamut (DWG) to unify different LOG and RAW formats under one color-managed timeline before outputting to REC.709.
- Proper Monitoring: Always ensure you are monitoring your REC.709 output correctly before final delivery. Relying on accurate hardware and software scopes (such as Nobe Omniscope or a Phabrix Qx rasterizer) and a properly calibrated reference display is critical.
- Film Emulation & Restoration: Tools like Filmbox by Video Village are excellent for adding subtractive color density, halation, and accurate film grain to your flat LOG scans. For highly compressed archival footage, AI upscaling tools like Topaz Video AI can reconstruct missing details before your final grade.
Quick Comparison Matrix
| Feature / Attribute | REC.709 | LOG (Logarithmic) | RAW (Sensor Data) |
|---|---|---|---|
| Image Type | Display-referred (Final look baked in) | Scene-referred (Logarithmic curve) | Sensor telemetry (Undebayered data) |
| Dynamic Range | Limited (~5 to 6 stops) | High (~12 to 17+ stops) | Maximum sensor capacity (14 to 17+ stops) |
| Bit Depth & Codec | 8-bit or 10-bit (H.264, MP4, ProRes) | 10-bit or 12-bit (ProRes, All-I, H.265) | 12-bit to 16-bit (BRAW, REDCODE, ARRIRAW) |
| White Balance & ISO | Baked permanently into pixels | Baked into sensor readout (limited latitude) | Fully adjustable metadata in post |
| Color Space & Gamut | Narrow (ITU-R BT.709 / sRGB) | Wide camera gamut (S-Gamut3.Cine, ARRI Wide Gamut) | Native sensor gamut (mapped in post) |
| Exposure Monitoring | WYSIWYG (What You See Is What You Get) | Requires viewing LUT or False Color | Requires viewing LUT or camera metadata preview |
| Post-Production Load | Very light (Minimal to no grading needed) | Moderate (Requires CST / LUT normalization) | High (Requires GPU debayering and fast storage) |
| Storage Requirement | Very Low | Moderate | High to Very High |
Want to go deeper on how colorists and DPs work together to get the most out of these formats on set? Check out my guide: Stop Fixing Footage: The Pro Guide to DP and Colorist Collaboration. And if you want hands-on training in DaVinci Resolve color grading, check out my certified training programs.
About the Author
Ali Lassoued is a Tunisian filmmaker, Senior Colorist, Post-Production Consultant, and Blackmagic Design Master Trainer with more than 14 years of experience in the film and broadcast industry.