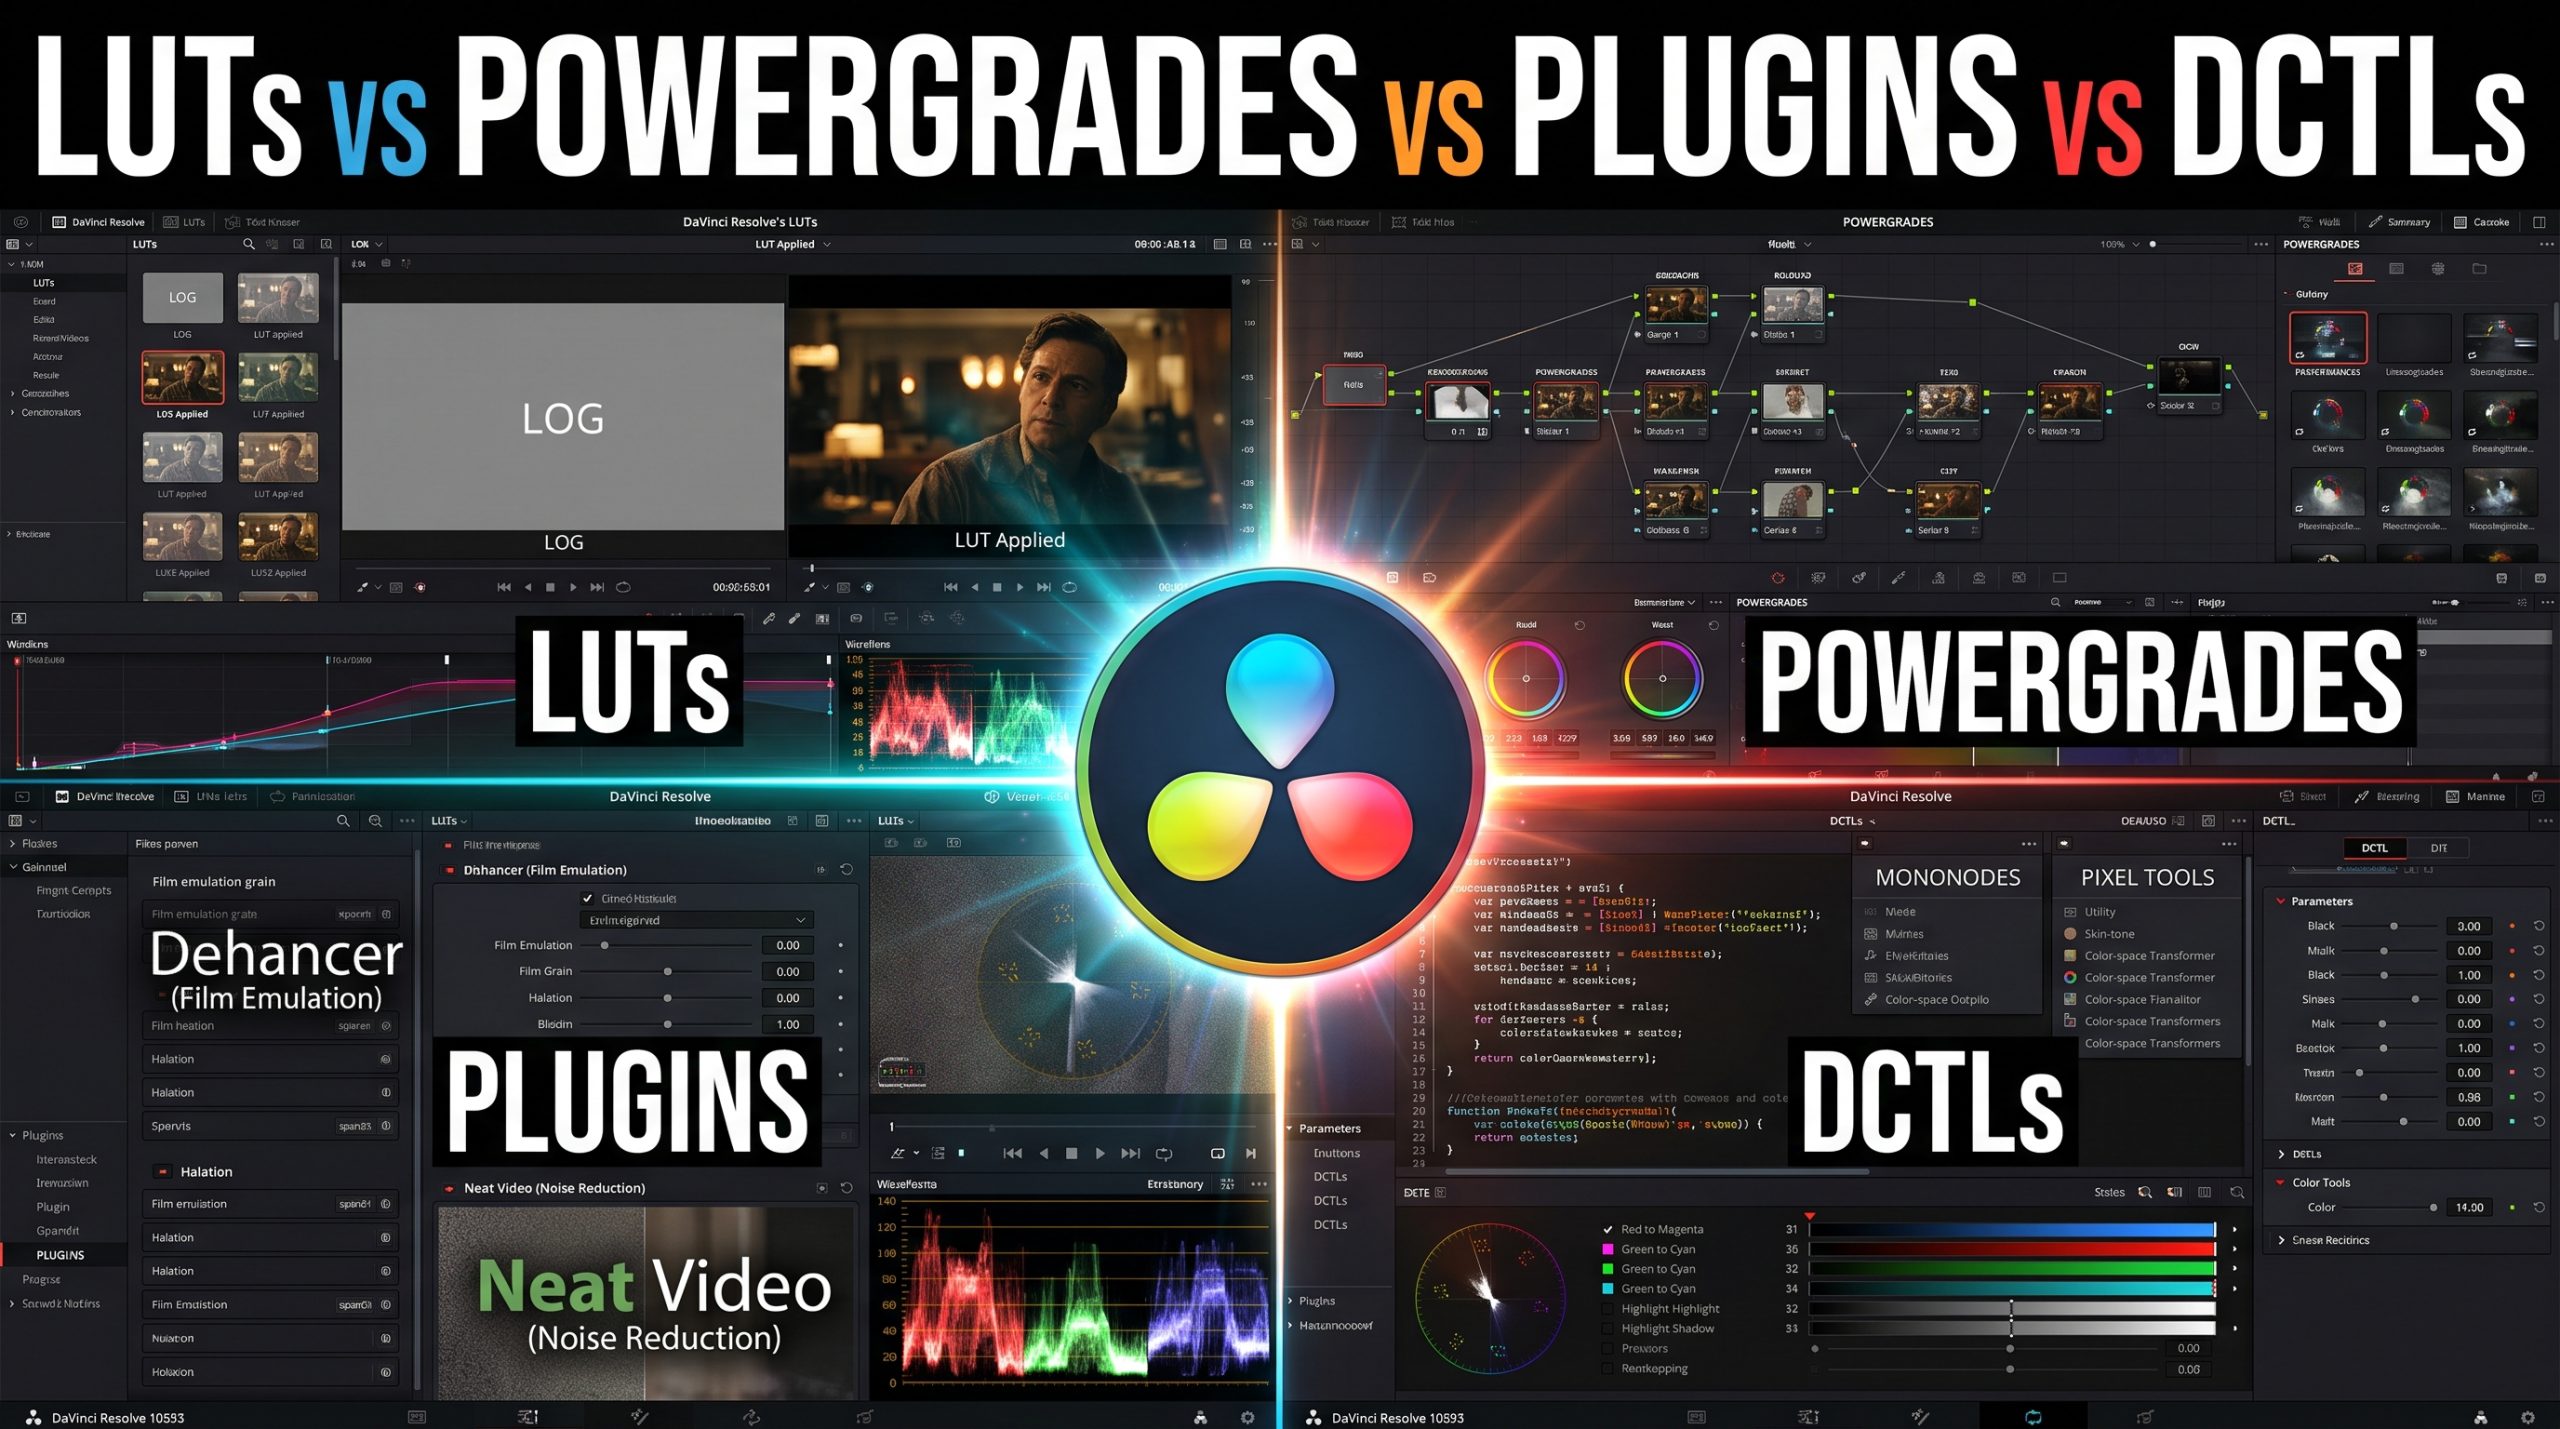

Once you start getting serious about color grading, you realize it’s not just about the basics anymore. To really boost both the quality and the speed of your grades, you need the right tools. That’s when terms like LUTs, PowerGrades, Plugins, and DCTLs start popping up everywhere.
But what exactly are they? How are they different? And more importantly, which ones are the best and free options you can start using today?
That’s exactly what this article breaks down. I’ll explain how these four tools work, where they differ, and which ones make the most sense for your color grading workflow in DaVinci Resolve.
In This Article
- LUTs
- PowerGrades
- Plugins
- DCTLs
- Quick Comparison Table
- Moving Projects Between Machines
- Which One Should You Start With?
- Frequently Asked Questions
1. LUTs: The Quickest Way to Change a Look
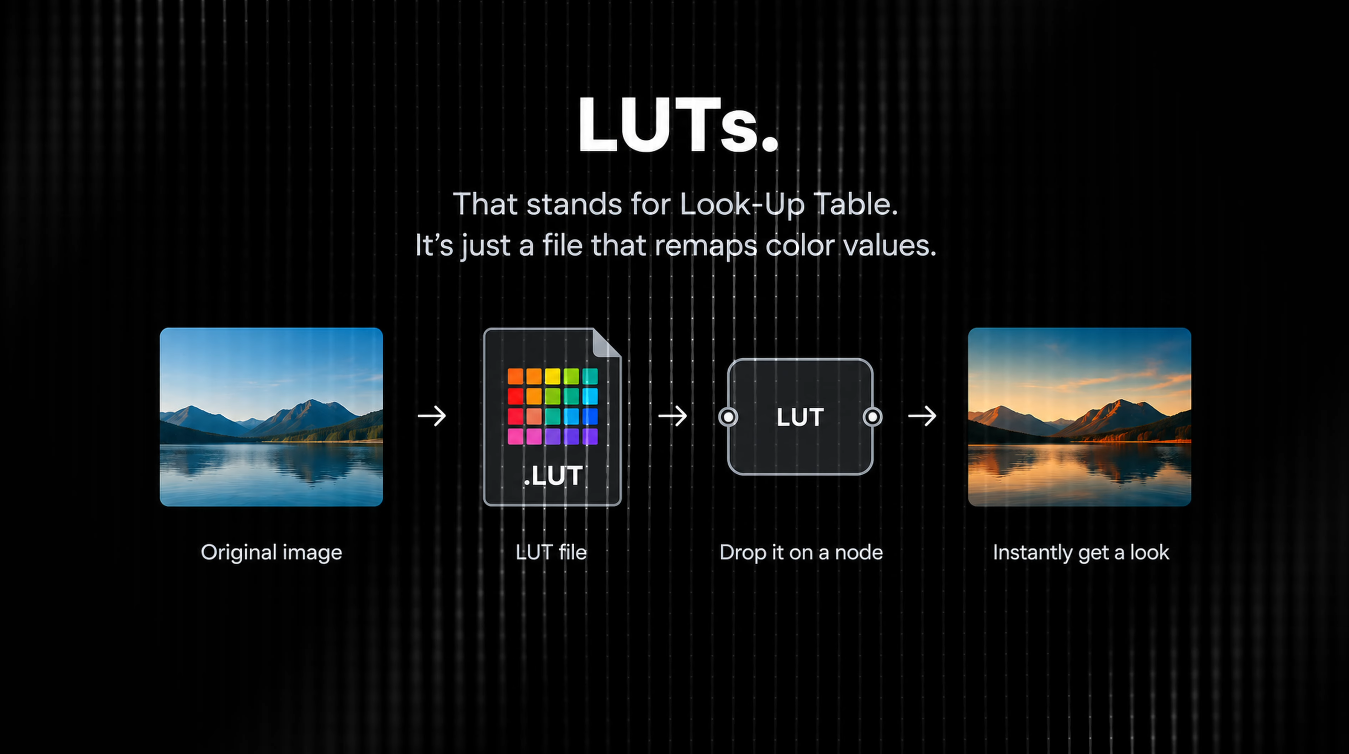
Let’s start with the most accessible one. LUT stands for Look-Up Table. It’s a file that remaps color values. Feed it a pixel value, and it hands back a new one. Drop it on a node, and you instantly get a new look.
The Three Types of LUTs
LUTs generally do one of three jobs, and it helps to know which one you’re reaching for.
Technical LUTs
Technical LUTs convert footage from one color space to another, most commonly Log to Rec.709. No creative choice involved, just the correct math so the image looks right on a normal screen.
When to use: Early in your node tree, as a conversion step.
Film Emulation LUTs
These recreate the look of a specific film stock, such as Kodak or Fujifilm, by shifting color response, contrast roll-off, and sometimes grain.
When to use: When you want an analog feel. Some of the best options already ship with DaVinci Resolve.
Creative or Look LUTs
These apply a finished, stylized grade baked into a file. Examples include teal and orange, bleach bypass, and a muted documentary look.
When to use: As a starting point or a final polish.
How to Install a LUT in DaVinci Resolve
- Copy your .cube file into Resolve’s LUT folder.
- Mac: Library/Application Support/Blackmagic Design/DaVinci Resolve/LUT
- Windows: C:\ProgramData\Blackmagic Design\DaVinci Resolve\Support\LUT
- Refresh the LUT list in the LUT panel or restart Resolve.
- Apply it by dragging the LUT onto a node.
Tip: If you keep your LUT library somewhere else, such as a shared drive, you can point Resolve to a custom LUT folder in Project Settings.
Three Ways to Control a LUT
- Node placement: Placing a LUT early for Log to Rec.709 conversion versus late as a creative finishing LUT does very different things to your image.
- Intensity: Most software lets you dial back a LUT’s opacity or mix, so you’re not stuck with 100% or nothing.
- Blending modes: Less common and more experimental, but stacking a LUT in Overlay or Soft Light instead of Normal can produce unique results.
The Catch
You can’t tweak how a LUT behaves inside the file without using workarounds. It’s fast, but locked in. You’re stuck with whatever curves and color shifts were baked in when it was created.
Think of LUTs like filters. They are great for previews or quick grades, but limited.
You can save your own grades as LUTs for future use, or, better yet, save the whole node tree as a PowerGrade. Which brings us to the next tool.
If you want to explore another way to speed up your grading workflow, check out this guide on automatic color grading in DaVinci Resolve.
2. PowerGrades: Your Reusable, Fully Editable Look
PowerGrades are saved node trees inside DaVinci Resolve. You can build a full grade using multiple nodes, windows, qualifiers, and effects. Save it to the PowerGrade Gallery on the Color page, and reuse it later in any project.
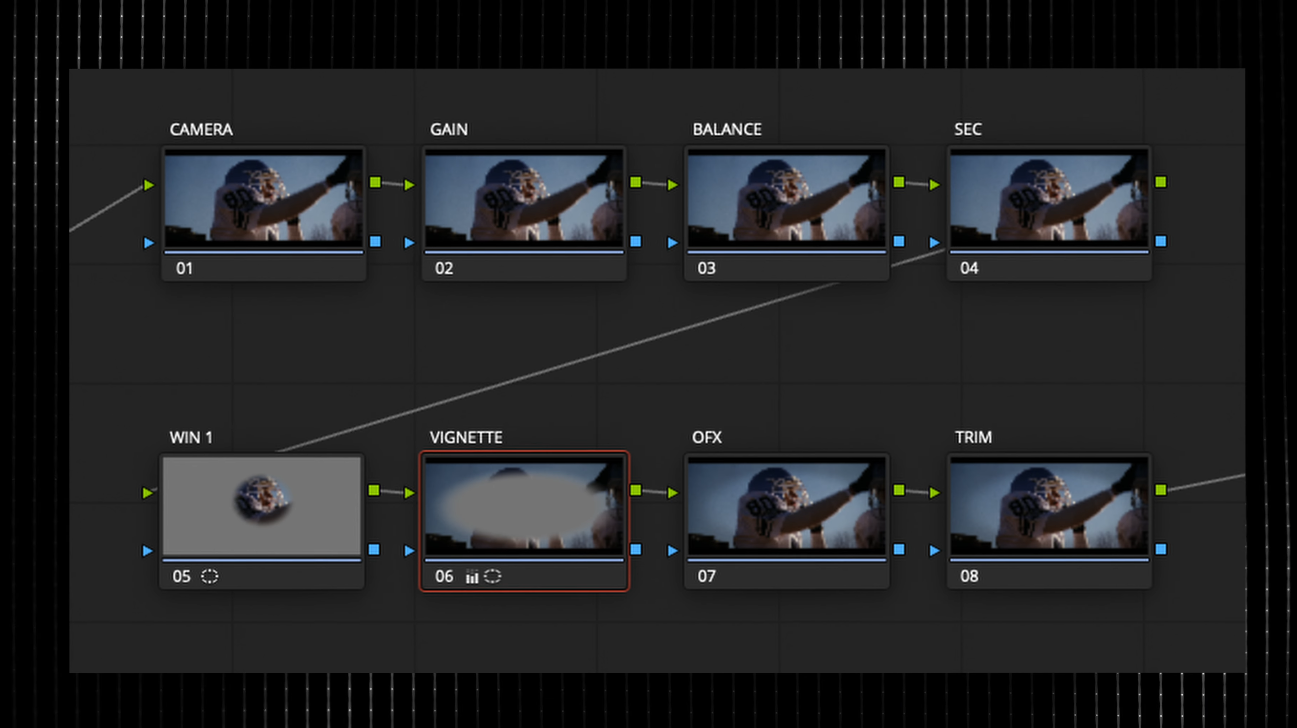
Why PowerGrades Beat LUTs for Flexibility
Because a PowerGrade is a real node tree, nothing is baked in. You can reach into any node and adjust the curve, the qualifier, or the window.
This is how professionals build look libraries and speed up their workflow. Instead of building contrast, split-tone, and skin-tone protection from scratch on every project, they drag in a starting PowerGrade and adjust from there.
How to Save a PowerGrade
- Open the Gallery on the Color page.
- Create a PowerGrade album. Right-click in the album list and choose Add PowerGrade Album if you don’t have one yet.
- Grab a still. Right-click the viewer and choose Grab Still, then drag the still into your PowerGrade album.
- Export to share or back up. Right-click the still and choose Export. Resolve saves it as a .drx file you can share or archive.
Learn From Other People’s PowerGrades
You’ll find plenty of PowerGrades online, both paid and free. My advice is to download a few and study the node tree rather than just using the end result blindly.
Look at how the creator splits the base grade, contrast shaping, and creative color into separate node groups. That’s where the real learning is.
You can also explore Ripple Grading in DaVinci Resolve to learn more about improving your color grading workflow.
3. Plugins: Purpose-Built Tools That Do the Heavy Lifting
Plugins are third-party tools that add new features inside Resolve, usually through the OpenFX (OFX) panel or as Fusion Fuses.
How Plugins Are Installed
Just like any other software, plugins come with a regular installer, an .exe on Windows or a .dmg on Mac. Once installed, they register themselves in Resolve’s OFX panel or Fusion and show up alongside Resolve’s native tools.
The good ones are, unfortunately, a bit expensive, so always start with the free trial.
Plugins Worth Knowing
Dehancer and FilmBox: Film Emulation
What they do: Dehancer is an analog film emulation toolkit that simulates real film stocks, grain, halation, and bloom, with a large library of film and camera profiles. FilmBox sits in the same category and is just as great.
My advice: Compare both before committing to one.
Price: Free trial, paid license.
Neat Video: Noise Reduction and Sharpening
What it does: Think of Neat Video as a more refined, higher-end version of Resolve’s built-in noise reduction. It’s widely considered the best noise-reduction tool on the market.
Bonus: It’s also excellent for fine sharpening in post, once your noise is under control.
Price: Free trial, paid license.
Contour: Filmic Contrast and Skin Tones
What it does: Contour, by colorist Cullen Kelly, is a look-design plugin that’s great for creating filmic contrast and pulling skin tones into a tighter, more pleasing range without building a full qualifier setup by hand.
My advice: Try the demo to see if the workflow fits yours.
Nobe OmniScope: Professional Scopes
What it does: Nobe OmniScope by Time in Pixels is a third-party scopes package built for monitoring and shot matching, with scope views and overlays that go well beyond Resolve’s built-in ones.
Best for: Anyone doing a lot of shot matching and narrative work.
Watch Your GPU
Plugins are powerful but often heavy on the GPU. Test them on your actual delivery timeline before committing to one on a big project.
Bottom line: Plugins are a great way to speed up your workflow and reach strong results with fewer manual nodes. Instead of building a whole film-emulation chain by hand, one plugin node can do it in a single click.
4. DCTLs: Custom Color Math With Simple Sliders
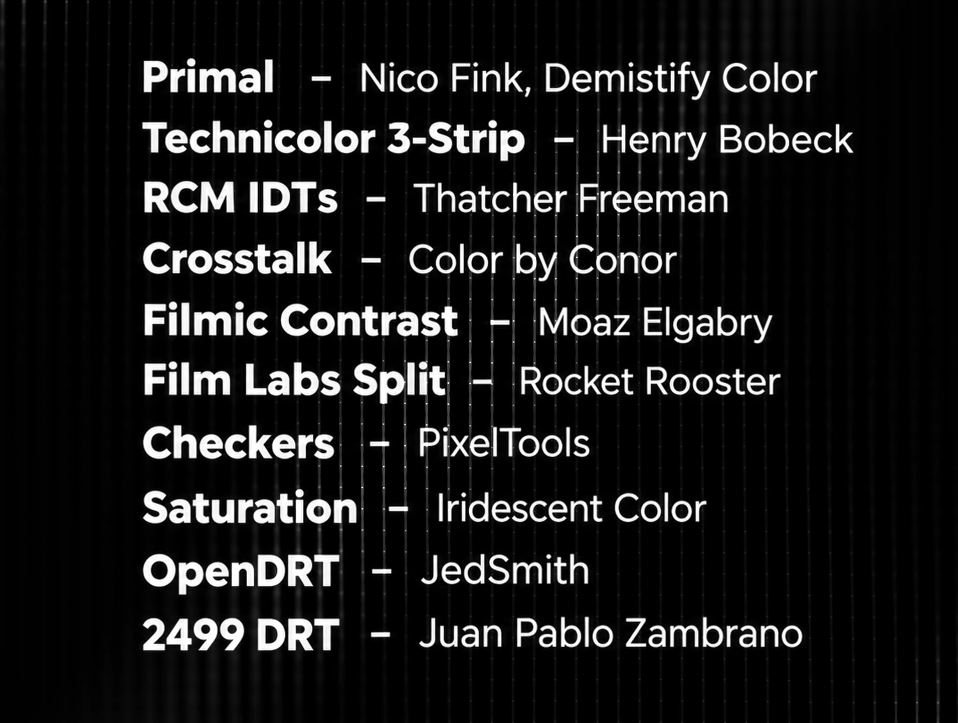
DCTL stands for DaVinci Color Transform Language.
Here’s how I like to think of it: a DCTL is like a cluster of nodes, an entire hidden node tree, brought to light as a clean interface with a few sliders and checkboxes. Someone else did the deep math for you; you just get the controls.
Note for free Resolve users: DCTLs require DaVinci Resolve Studio, the paid version. The free version doesn’t support them.
Example: Building a Split Tone
By Hand
Build a luma qualifier, set up two color wheels, and balance it all manually with the curve tool.
With a DCTL
Apply a split-tone DCTL and pick a shadows color and a highlights color.
The result is the same split-tone effect in a fraction of the setup time.
What’s Out There?
There are a lot of free and paid DCTLs, from simple utilities such as false-color scopes, skin-tone highlighters, and saturation qualifiers to full film-emulation DCTLs that rival paid plugins.
Just like LUTs, though, the internet is cluttered with DCTLs. Out of everything I’ve tried, these are the two toolkits I strongly recommend.
Mononodes
Mononodes offers tools for look development, film-print emulation, and color grading.
PixelTools
PixelTools provides a wide range of grading and finishing DCTLs.
Between the two, they cover a lot: full look development, color-space and film-look toolkits, curve tools, and more. They’re worth learning in depth rather than sampling once.
Free Alternative: Juan Pablo Zambrano’s DCTL Collection
Juan Pablo Zambrano’s DCTL collection on GitHub is a great free option, especially for color-space transforms.
How to Install a DCTL
- Copy the .dctl file or its folder into the same LUT folder Resolve uses for LUTs.
- Restart Resolve so it picks up the new file.
- On the Color page, add the DCTL effect under ResolveFX to a node, then choose your DCTL from its dropdown list.
Start Small
All of this can be overwhelming. The best approach is to download a free trial or a free sample pack and try it on your own footage before deciding what’s worth paying for.
5. LUTs vs PowerGrades vs Plugins vs DCTLs: Quick Comparison
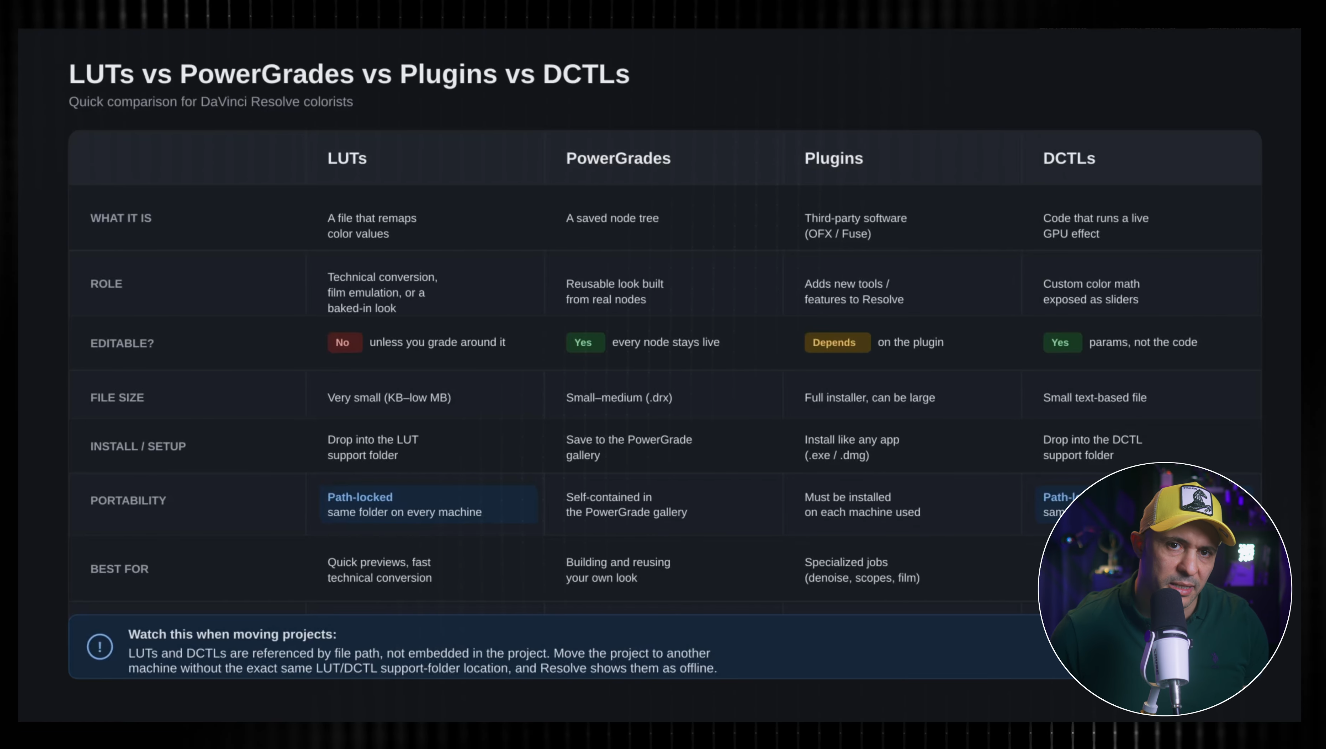
Here’s a quick comparison of the four tools and their main differences.
| Feature | LUTs | PowerGrades | Plugins | DCTLs |
|---|---|---|---|---|
| What it is | A file that remaps color values | A saved node tree | Third-party software (OFX or Fuse) | Code that runs a live effect on the GPU |
| Role | Technical conversion, film emulation, or a baked-in look | Reusable look built from real nodes | Adds new tools and features | Custom color math exposed as sliders |
| Editable? | Locked in unless you grade around it | Every node stays adjustable | Depends on the plugin’s controls | Sliders yes, the code itself no |
| File Size | Very small (KB to low MB) | Small to medium (.drx) | Full installer, can be large | Small text file |
| Install | Drop into the LUT folder | Save to the PowerGrade Gallery | Install like any app (.exe or .dmg) | Drop into the LUT folder |
| Portability | Must exist at the same file path on every machine | Self-contained once saved | Must be installed on each machine | Must exist at the same file path on every machine |
| Free Resolve? | Yes | Yes | Varies by plugin | Studio only |
| Best For | Quick previews and technical conversion | Building and reusing your own look | Specialized jobs such as denoise, scopes, and film emulation | Deep customization and look development |
6. Important: Moving Projects Between Machines
LUTs and DCTLs are referenced by file path. They are not embedded in your project.
If you move a project to another machine, or hand it off to another colorist, every LUT and DCTL you used needs to sit in the exact same folder location on that machine too.
Otherwise, Resolve shows the node as offline or missing, and the look breaks.
This has cost me a lot of time and frustration when revisiting old projects, so keep a backup of your LUT folder alongside your project archives.
7. Which One Should You Start With?
- LUTs: Quick and easy, but limited.
- PowerGrades: Give you flexibility and reusability.
- Plugins: Expand your toolkit with powerful, purpose-built features.
- DCTLs: Unlock custom, code-level control that pushes Resolve to the next level.
The good news? You don’t have to use all of them at once. Start with what makes sense for your workflow, experiment with the free options, and slowly build a toolkit that feels natural to you.
Frequently Asked Questions
What is the difference between a LUT and a PowerGrade?
A LUT remaps color values using adjustments baked into a file. A PowerGrade saves a complete node tree, allowing you to edit individual nodes and reuse the grade in other projects.
Are LUTs free in DaVinci Resolve?
Yes. You can use LUTs with DaVinci Resolve, and you can also import compatible LUT files into the software.
What are PowerGrades used for?
PowerGrades are used to save and reuse complete color grading node structures. They help colorists maintain a consistent look and speed up their workflow.
What are plugins used for in DaVinci Resolve?
Plugins add specialized features to DaVinci Resolve. Examples include film emulation, noise reduction, sharpening, and professional monitoring tools.
What is a DCTL in DaVinci Resolve?
DCTL stands for DaVinci Color Transform Language. It allows custom color processing tools to be used inside DaVinci Resolve through controls such as sliders and checkboxes.
Which tool should a beginner start with?
Beginners can start with LUTs to explore different looks and PowerGrades to understand reusable node structures. Plugins and DCTLs can be explored as their color grading workflow becomes more advanced.
Final Thoughts
Found this helpful? Subscribe on YouTube for deeper dives into each of these tools in upcoming videos.
And let me know in the comments: Are you more of a LUT person, or are you already experimenting with DCTLs?